



Using myServer and SmartRemote
In this video we will go over configuring myServer, getting a Tablet and Smartphone user interface setup, and setting up the SmartRemote for a typical home environment.
Allonis has created YouTube articles to support the myServer product line. Best is to follow these text instructions for more details.
We will cover:
- Accessing the myServer dashboard
- Adding a user
- Adding rooms
- Adding Sources and Apps
- Running Device Discovery
- Installing and configuring device drivers
- Assigning devices to rooms
When we are finished, we will have configured the Tablet, the Smartphone, and the SmartRemote with the ability to be used in two different rooms.
Let’s get started.
If you have purchased a myServer controller from Allonis make sure that it is plugged in and on the network. myServer is managed by accessing its administration dashboard web site. You will need to know the current IP address of the controller. If you have purchased a controller from Allonis you can also access it by name. We have automatically set the controllers name to your last name.
In this demo we have a controller with an IP address of 192.168.0.18 and its name is Jones (typically the purchasers last name if configured by Allonis).
1) We begin by opening up a browser and calling up the dashboard.
2) Open a browser to http://192.168.0.18/dashboard (example) or by name http://jones/dashboard
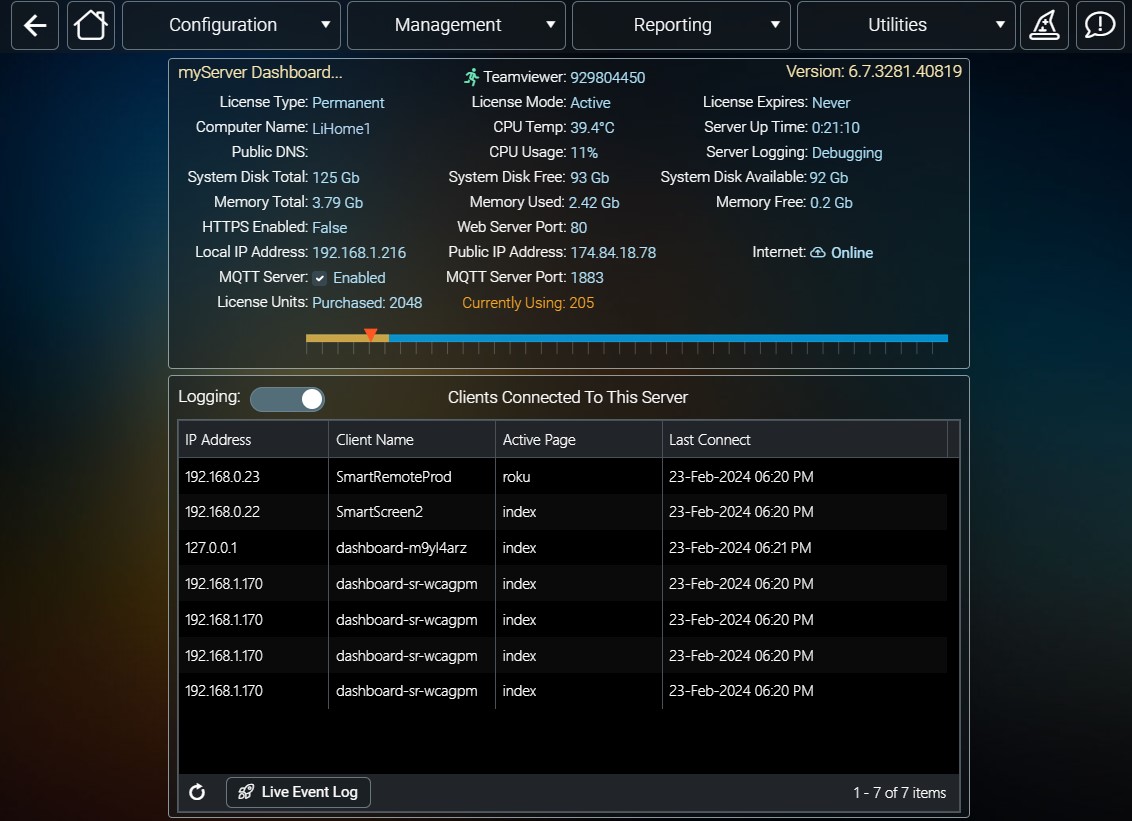
As mentioned previously we will be configuring the SmartRemote with the ability to be used in two different rooms. We’ll be using the Living Room and Office as examples but you will use your actual room names.
The Living Room has the following equipment
- Samsung TV
- Nvidia Shield Pro
- FireTV Cube
- Denon AVR.
The Office has a number of FireTV devices, an Nvidia Shield, a Roku 4K and a Vizio TV.
We start by making sure we have all the drivers and latest software components installed.
Ensure device to be discovered are properly on the network, and turned On. Enable "External Control" to ensure it's communication port is open on the network.
Within the Dashboard, click on Reporting / Device Inventory.
You can select "House" to discover devices on the myServer controller's ethernet network (typical situation). Then click "Discover". In about 5 minutes, you should see a list of all of the devices that are currently on your network, and myServer's best guess of the type of device. You can select a found device from the list, and if you agree with the guess of the type of device, and you want to control that device...click the Add Selected Devices button. This will download the appropriate driver for that type of device.
3) From the Utilities dropdown on the Dashboard select the Software Updates option.
Software Updates
This will bring you to the System Software Updater page.
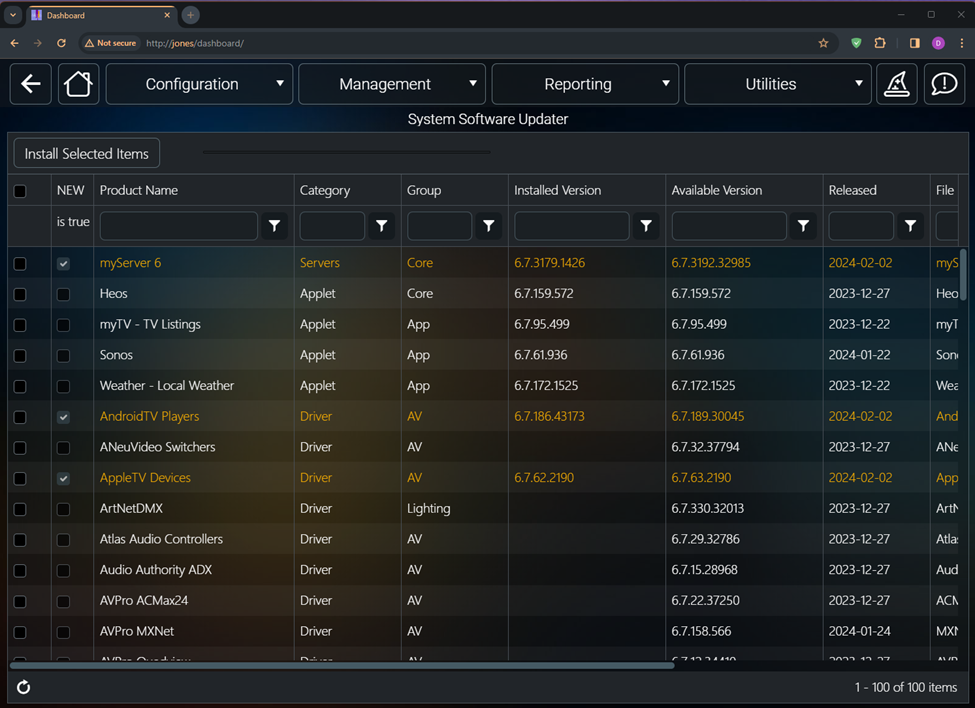
This table represents a comprehensive list of all the myServer components available for installation. The list is organized by type of software component, Applet, Driver or Template.
When an update is available for a software component that is already installed the item will be shown in a bright amber color. You can also compare the latest version number with the available version number. Double check that you are on the latest myServer 6.8 version (it might not be highlited).
4) If you double click on the column header labled NEW you will see all the available updates grouped together.
5) Here we’ll check off all of the items to update. (meaning ONLY the Whats NEW - not ALL drivers...)
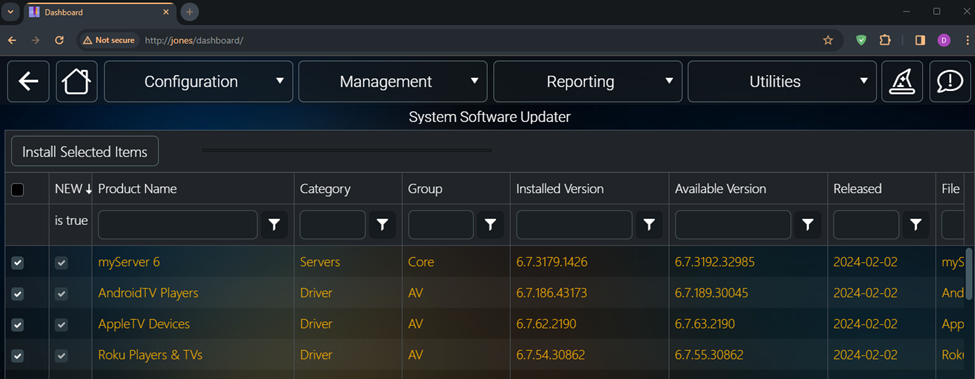
6) Download the latest Moonlight Tablet and Moonlight Smartphone templates. We also need the latest SmartRemote sample template. Make sure you scroll the software list to the bottom and mark the SmartRemote template to also be installed. Note: Allonis templates are licensed so you may need to add (purchase) additional device licenses for templates and devices you have installed. If you exceed your current allocation, remove the unneeded template from the wwwroot directory and restart myServer. Note that the SmartRemote (as example) template downloads as "smartremote-sample" so it doesn't overwrite your "smartremote" in use folder. Initially, you should copy the smartremote-sample to the simpler, smartremote folder name. This can be done using myDesigner or more simply, via the Raspberry Desktop File Manager.
Recommended is to download the Weather app, and the AndroidTV driver. The SmartRemote runs AndroidOS and the AndroidTV driver allows for connection to it.

7) Now click on the Install Selected Items button to begin the software update.
8) Select Yes to confirm you want to update the software
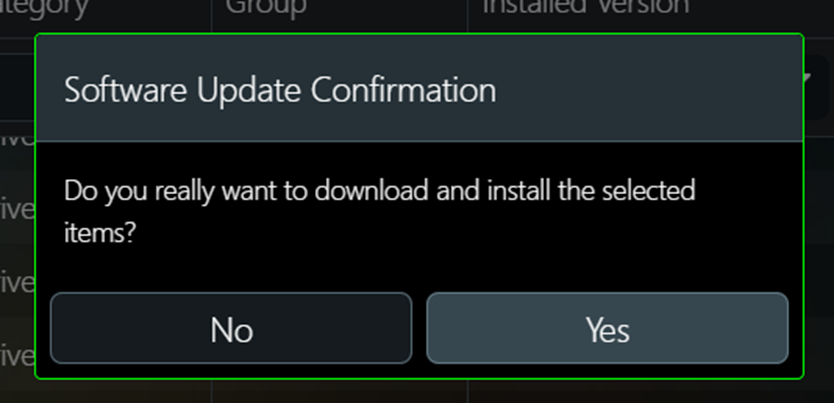
You see the progress indicator showing the status as the components are being downloaded
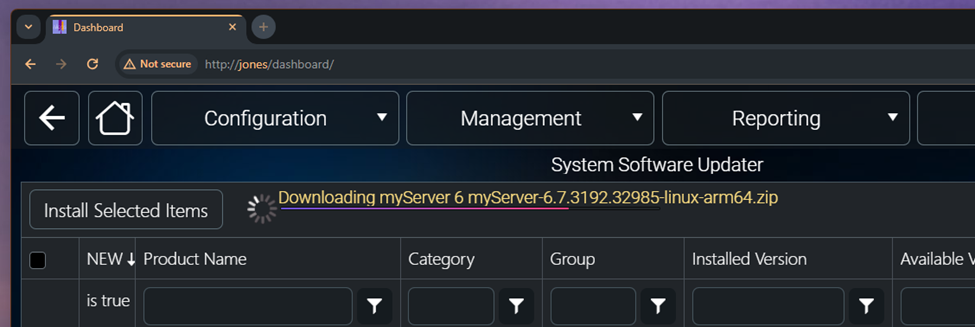
When the all the components have been downloaded you will see the toast message that the server has been restarted and is ready for use.
Now that we have installed the required software components, we can now start the process of system configuration.
9) After installing an update to myServer, it is good practice to clear the browser cache so that the browser reloads the current javascript from myServer. In chrome, right click on a webpage. Click Inspect. Then, click and hold the browser refresh button. Scroll down to Clear Cache and Reload.
myServer for Raspberry Pi systems also supports ability to update the Operating system. Click on Dashboard / Utilities / Linux OS Updates / Check for Updates. If there are updates, click the Apply Updates. Once completed, reboot the myServer controller. BTW, if you click on Updates on the Raspberry Dashboard, the password to apply updates is "allonis". Periodically, myServer will check for OS updates on it's own. If the Utilities tab icon illuminates, that's a sign that there is an update available.
You may be prompted post an OS update to choose "X" or "Wayland". Always choose "X".
Start Configuration
The recommended order for setting up a new system is
Define the users – this is optional
Define the Rooms – this is critical
Discover your devices and assign them to room – also critical
Users:
1) From the configuration menu dropdown select the Users option. You’ll see that we have already defined three sample users and an administrator user named sysadmin. The sysadmin user is required but you are free to remove the "three stooges" and add your own users.
2) To create a new user simple click on the Create New User button.
The required fields are username, first name and last name. There space for a avatar photo too.
We’ll add my cousin Davy.
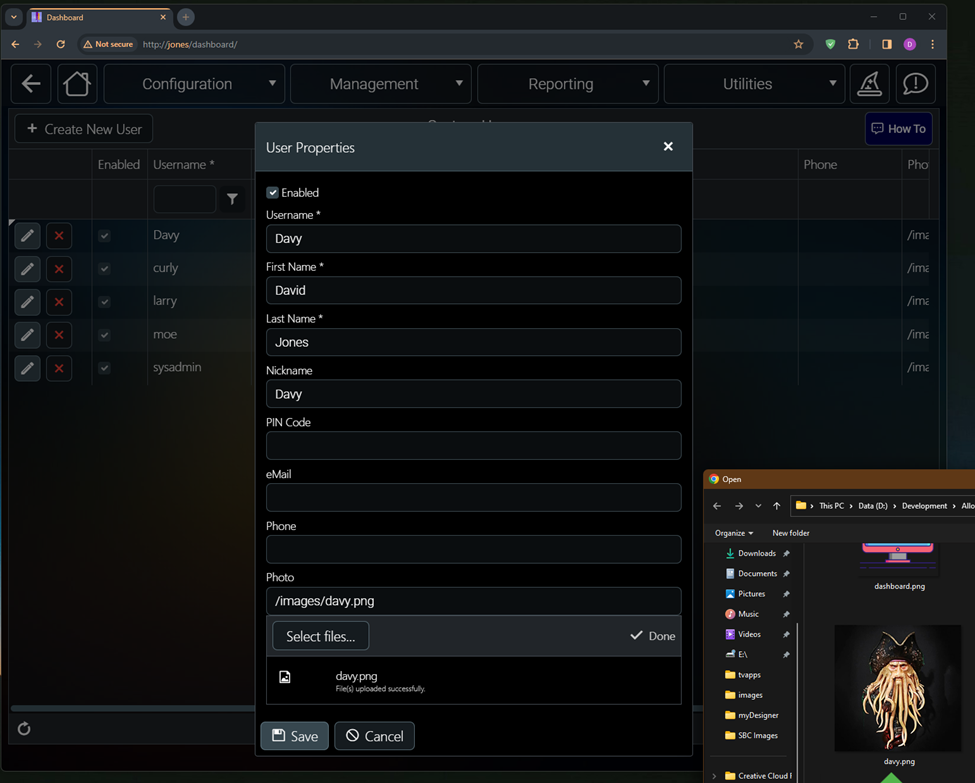
Repeat for as many other users you would like to add.
Next, we will add our rooms. From the same configuration menu dropdown select the Rooms option.
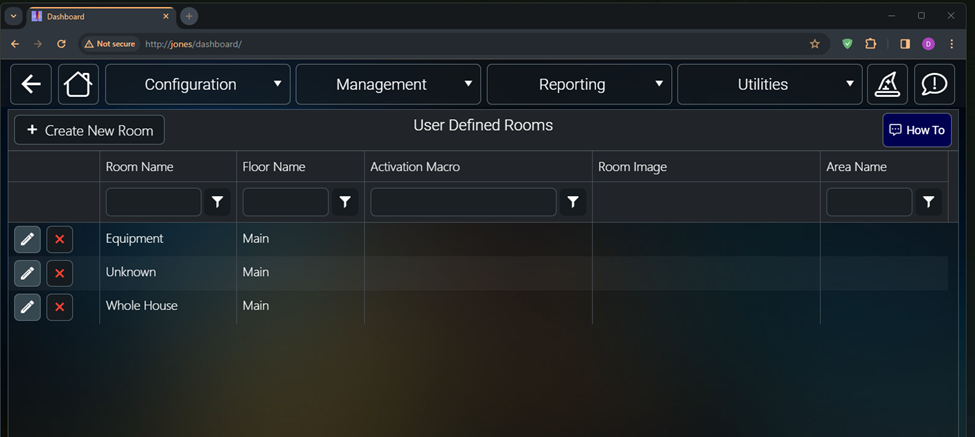
We mentioned previously that we will be adding devices into the Living Room and Office. So now we will create those two rooms.
3) Click on the Create New Room button.
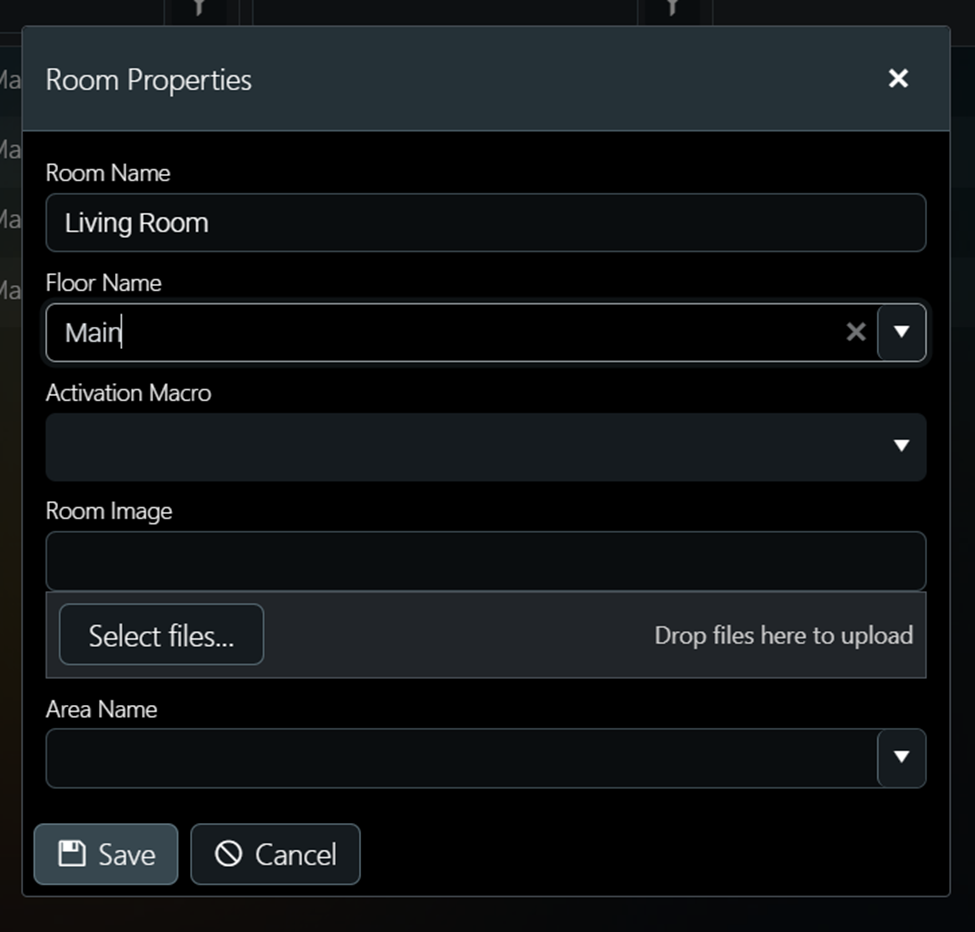
The only required field is the Room name. Everything else is optional. Floor name and Area name can be useful later on if you want to perform action based on devices that are on a particular floor or area; for example, select all the lights on the main floor and turn them off. That’s a more advanced topic and we’ll save that for another time. The activation macro field will automatically be filled in by the server.
The "Unknown" and "Equipment" rooms are required by the system. Don't edit, or remove them.
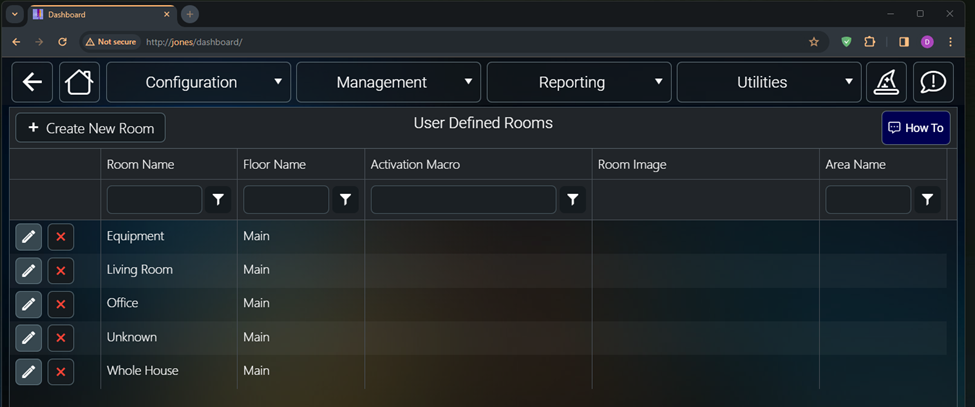
We’re done with rooms for now. We’ll start configuring devices next.
Device Configuration
1) From the management menu option select the Drivers option. This will bring you to a page that will display a series of tiles. One tile for every device driver you have installed.
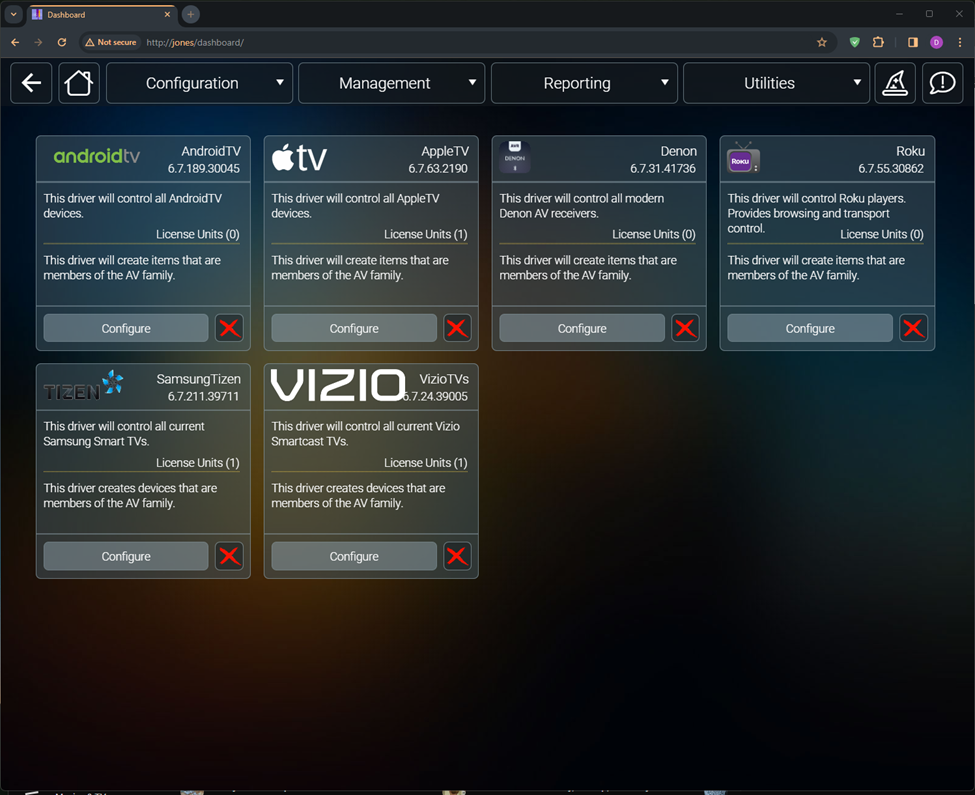
Next, we have to go into each driver and add the devices that each driver is responsible for controlling. Nearly all the drivers you will be using have auto discovery features that will search the network and automatically add them into the system. Optionally you can manually add the device using the build in command building option.
2) Lets, configure Roku. Click on the Configure option on the Roku tile. We start with an empty list. Note for most drivers, you can click the "How To" and get to the driver's support web page.
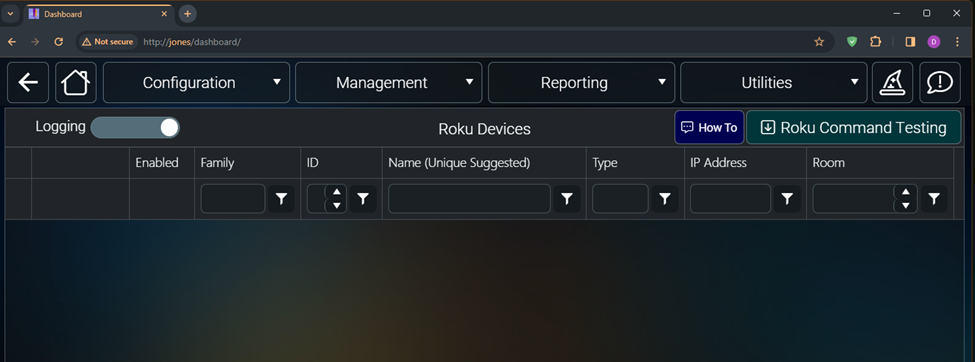
3) If you wanted to manually add a roku player you could click on the Roku Command Testing button to expose the command builder. From the dropdown select the AddTV option. You’ll see that the command to add a Roku player or TV takes three parameters. A name, and IP Address and a Room Name.
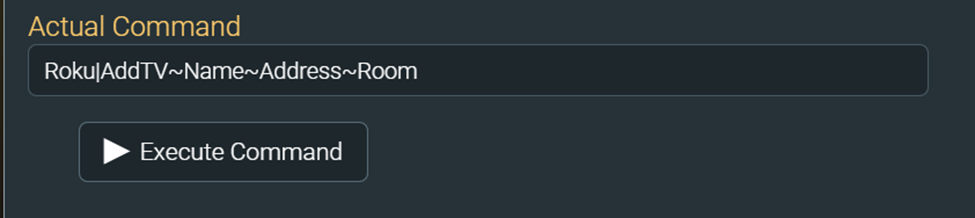
Change name address and room to the actual values. Like:
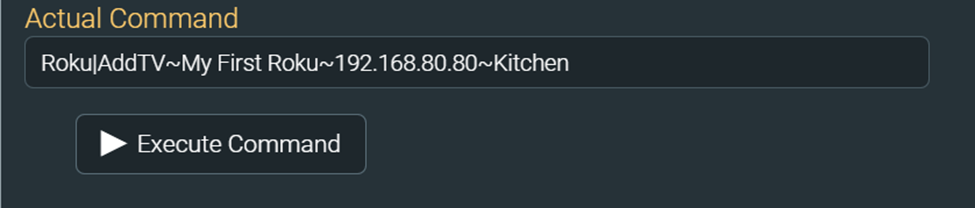
4) Click execute command and the new Roku player will show up in the list.
BUT, there is an easier way. Click on the Discover Roku Players button on the bottom of the page and after a few seconds all your Roku players should automatically show up.
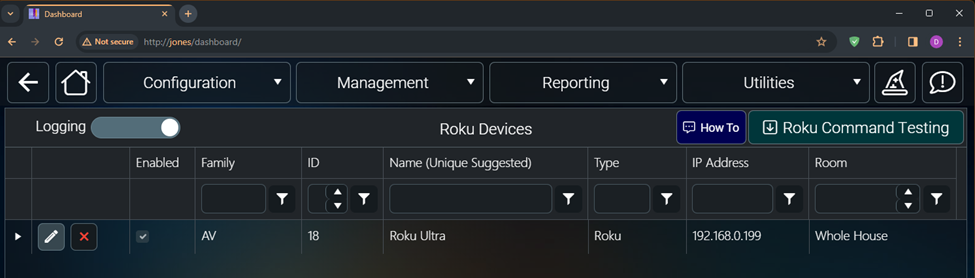
When a device is automatically discovered we won’t know what room it is in. You will have to edit the device by clicking on the pencil icon and put it in the correct room. Also you should give this player a unique name so that it can be easily identified. This Roku is in the office so we’ll make the following changes.
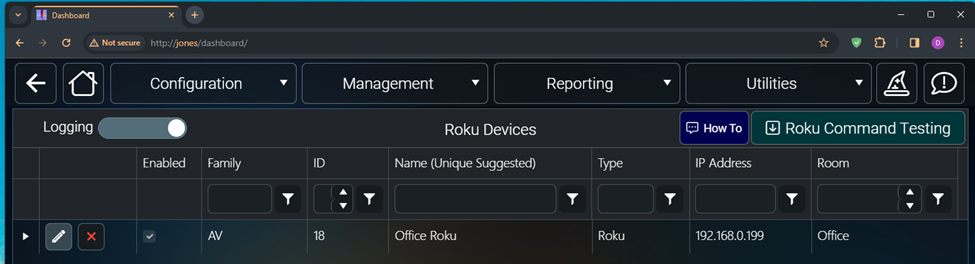
5) Click save
This completes the Roku setup. This same process will get repeated for each of your devices on the system. This may seem a bit tedious but it only has to be done once and makes using the rest of the system a lot easier.
Let’s do the same thing for our Android TV devices.
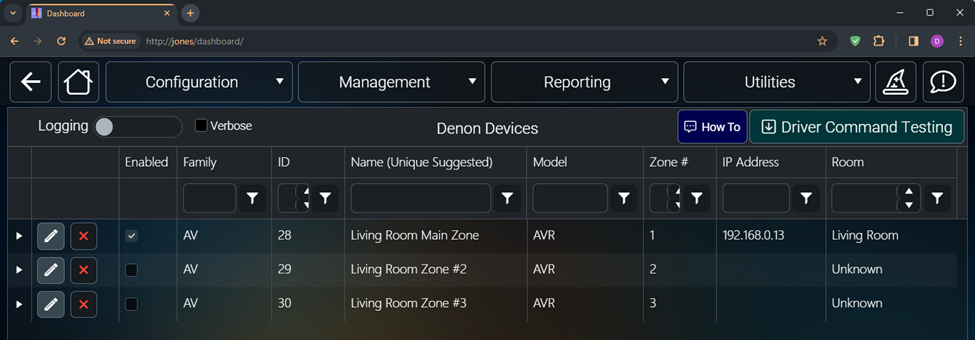
Denon AVR in the Living Room
The Samsung TV
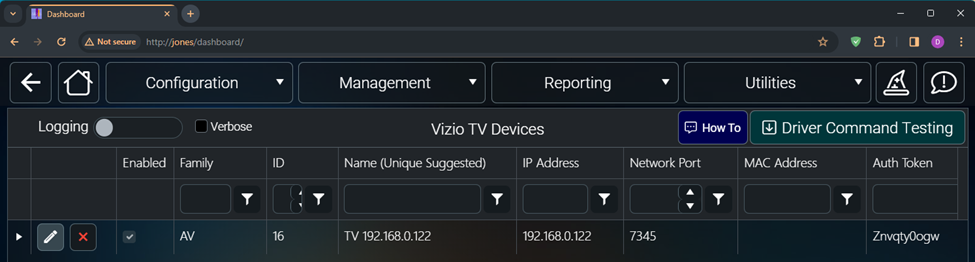
And the Vizio TV
Once we’ve done that, we can now review our sources that will be exposed to the user interfaces. Back on the Configuration menu dropdown select the Sources and Apps option.
Here you’ll see that we have now defined five different sources. Two in the Living room and three in the Office.
How it works:
For each room (for rooms that are to have AV devices in them):
Create a room. No macros are auto created by myServer.
Add a driver. No macros are auto created.
You add the driver's device to a room. If this driver supports AV type devices an "activate-source.sourcename" macro is created (if it doesn't already exist).
If the AV device is added to a room, then, a room activation macro is created if it doesn't exist "activate-room.roomname". At this point you can customize this macro for power on / off when the room is selected as example. A Source activation macro will also be created for each AV device "activate-source.sourcename". Typically you don't need to edit this macro unless you have a multi zone system like to manage which source this AV device is connected to and audio / video matrix.
If you are adding an AVR device or TV, an additional set of macros are created for Power on /off (powers any AV device On in that room), displayon.roomname (which targets TV and Projector type of devices), and Volume up / down / mute (total of 5 macros).
Complete the configuration HERE