



myServer Configuration - Part 2
At this point, you can load the Moonlight Tablet (or Moonlight Smartphone) user interface in your PC browser by going to:
http://yourmyserveripaddress/moonlight (if that's what your template is named in the myServer wwwroot folder).
You should now select your user and select a room by clicking in the lower left corner media icon (the TV with the notes in it). Once you select that room, the media devices for that room's icons should then appear. You can then test that devices capabilities.
You can also load the smartphone template
http://yourmyserveripaddress/moonlightphones
You select the user and room by clicking on the top of the user interface. These selections should be done for each web client that you are using. Once these choices are made, you typically don't have to keep reselecting it, even if you open up the template (from that hardware device) days later.
SmartRemote
Once you are done configuring myServer then:
Ensure you have installed the AndroidTV Driver from Software Updater.
Move onto the SmartRemote and view the same webpages on the target hardware.
myDesigner
We’re going to leave the web user interfaces for the moment and jump over to the myDesigner 6 application.
Note: myDesigner is used to modify the ready to use templates from the myServer Updater or to create your own templates from scratch (advanced). We recommend you use the ready to use templates first, then optionally modify them using myDesigner once you become more expert with the overall system and have chosen to make changes.
If you have not previously downloaded and installed the myDesigner app from our web site please do so now.
Links to the YouTube videos providing an overview of the installation on Windows and setup of myDesigner are linked at the end of this document.
Note: Allonis is redeveloping myDesigner to run in myServer's webserver not requiring a Windows PC. But that's a lot of work and no promises on when that will be available. Additionally, some Mac Book Pro users have installed myDesigner to run in Parallels on the Mac. That is not supported by Allonis, but users are saying it's working nicely. Today, Allonis recommends a Windows PC to run myDesigner.
Ensure that your Windows PC display settings are set to "100% scaling" in the Display Settings. Other scaling settings will cause myDesigner to not display correctly. You need to restart myDesigner after you change scaling for the new changes to take effect.
1) Open myDesigner and make sure you are connected to the myServer controller.
Our server is located at ip address 192.168.0.18. Our myDesigner settings look like the following. Set yours to your controllers IP address. Be careful of the right "back slashes" and "slashes" are same as shown.
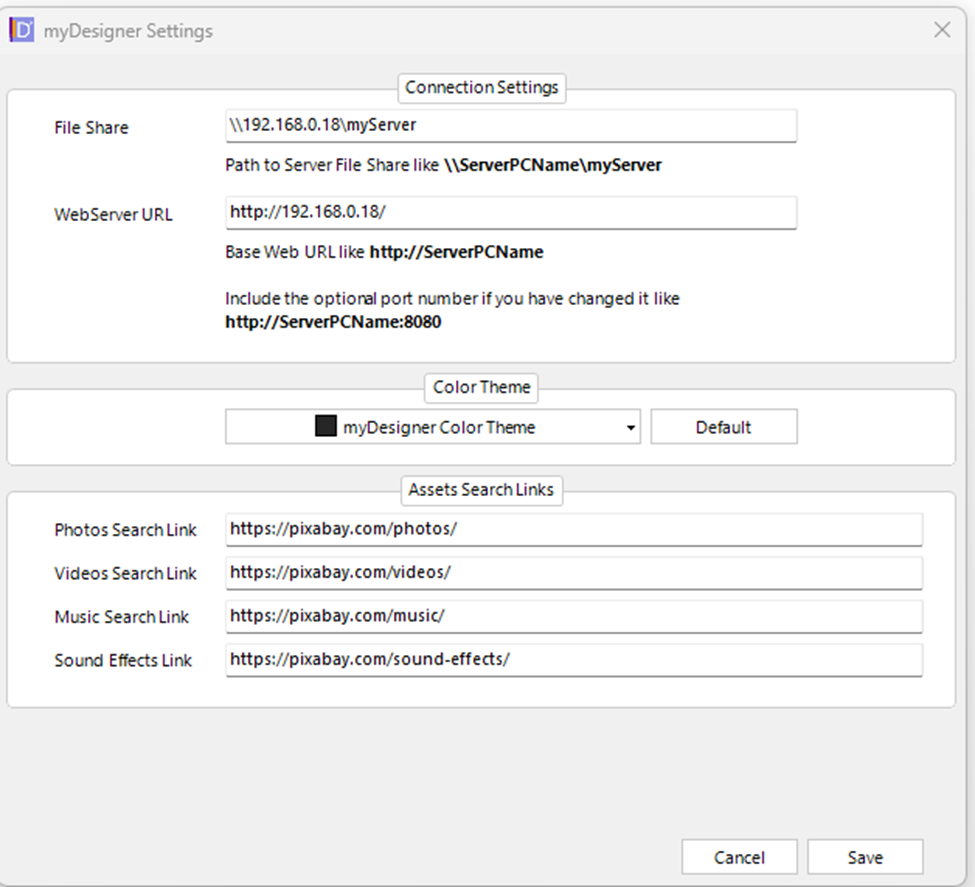
Your designer view should look like the following.
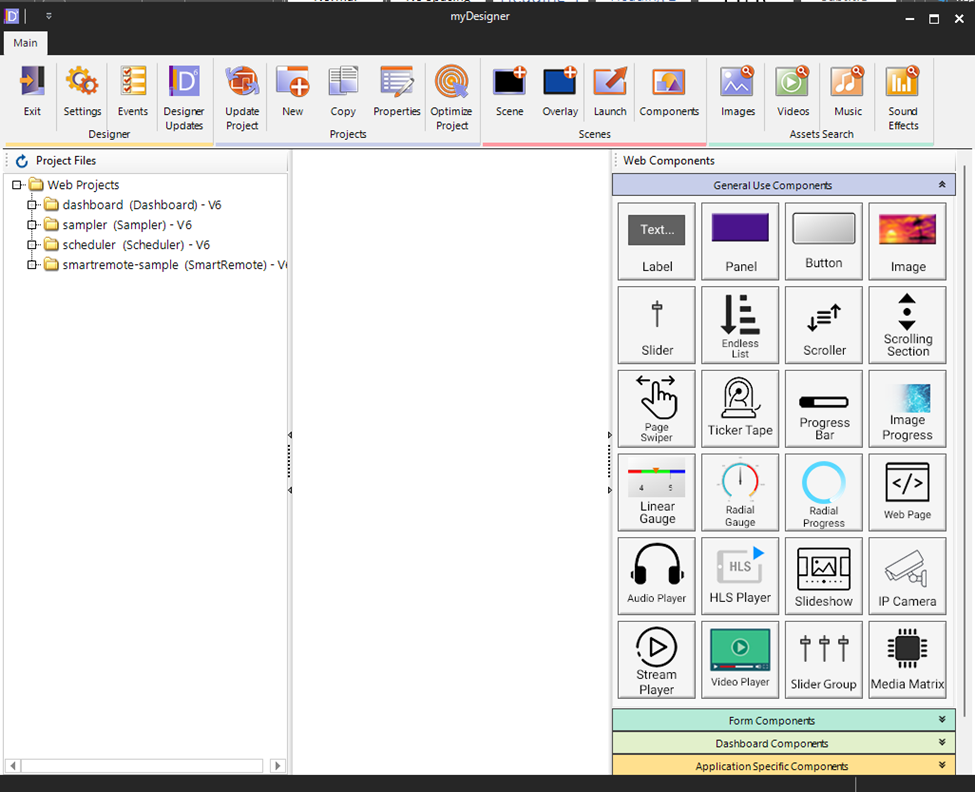
Please note that the example SmartRemote template you previously downloaded is called smartremote-sample.
2) Before you start making any changes you should rename this project template to its more common name smartremote. The downloaded SmartRemote template is called purposely named as a sample so that any future update of the SmartRemote template does not overwrite any changes you have made to your version of the template.
To rename smartremote-sample right-click on the folder name and select the rename option. Then enter your new name.
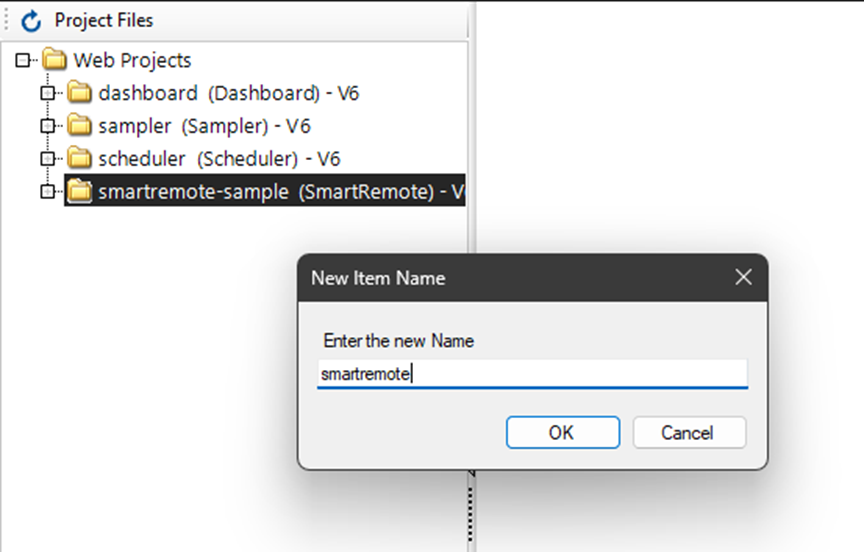
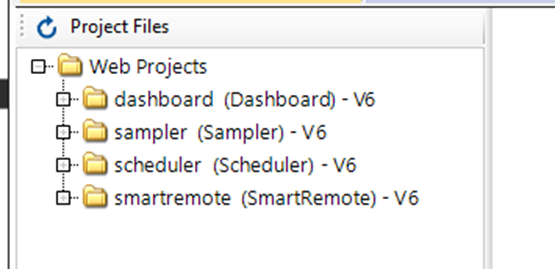
3) Now grab your SmartRemote and let’s see what it looks like, AFTER you have setup the SmartRemote (see link below).
Please make sure you have set up your SmartRemote as detailed in the Setting up your SmartRemote video. Links in the description.
4) From the home page on the SmartRemote click on the Avatar icon in the top left corner of the screen. This will bring up the user and room selection page.
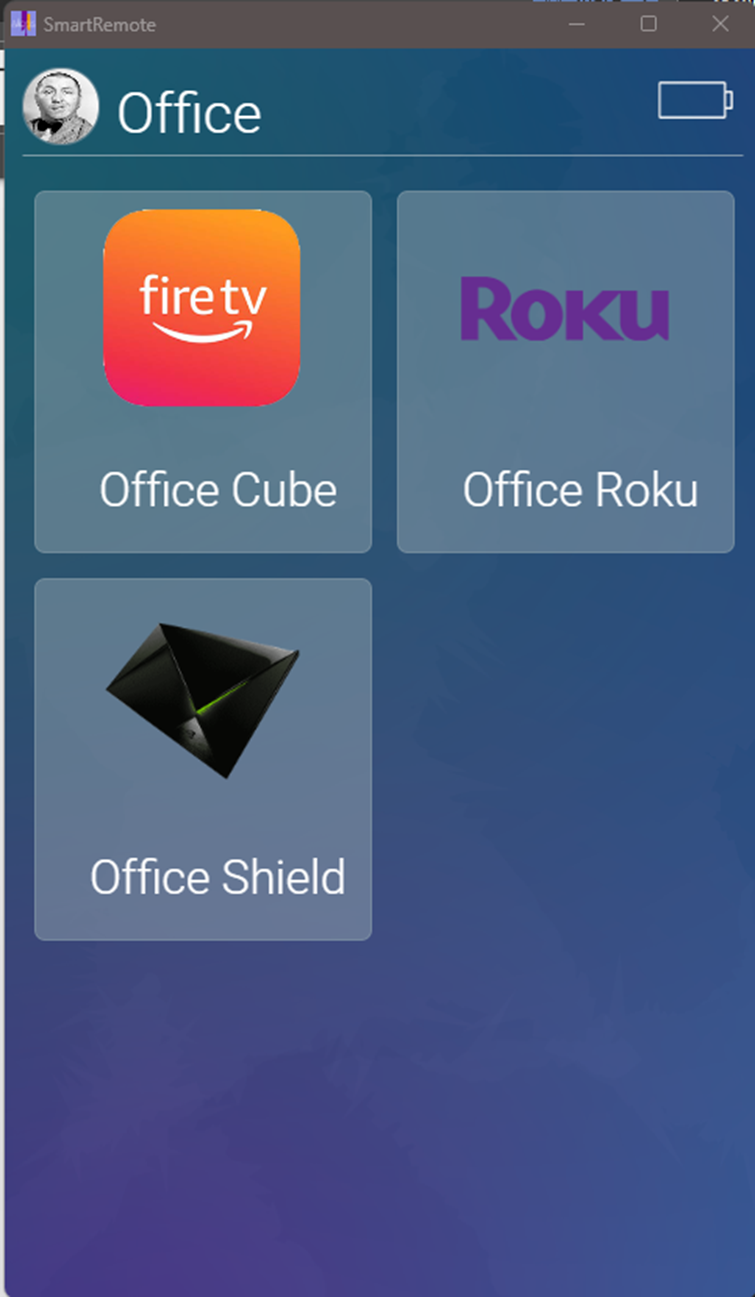
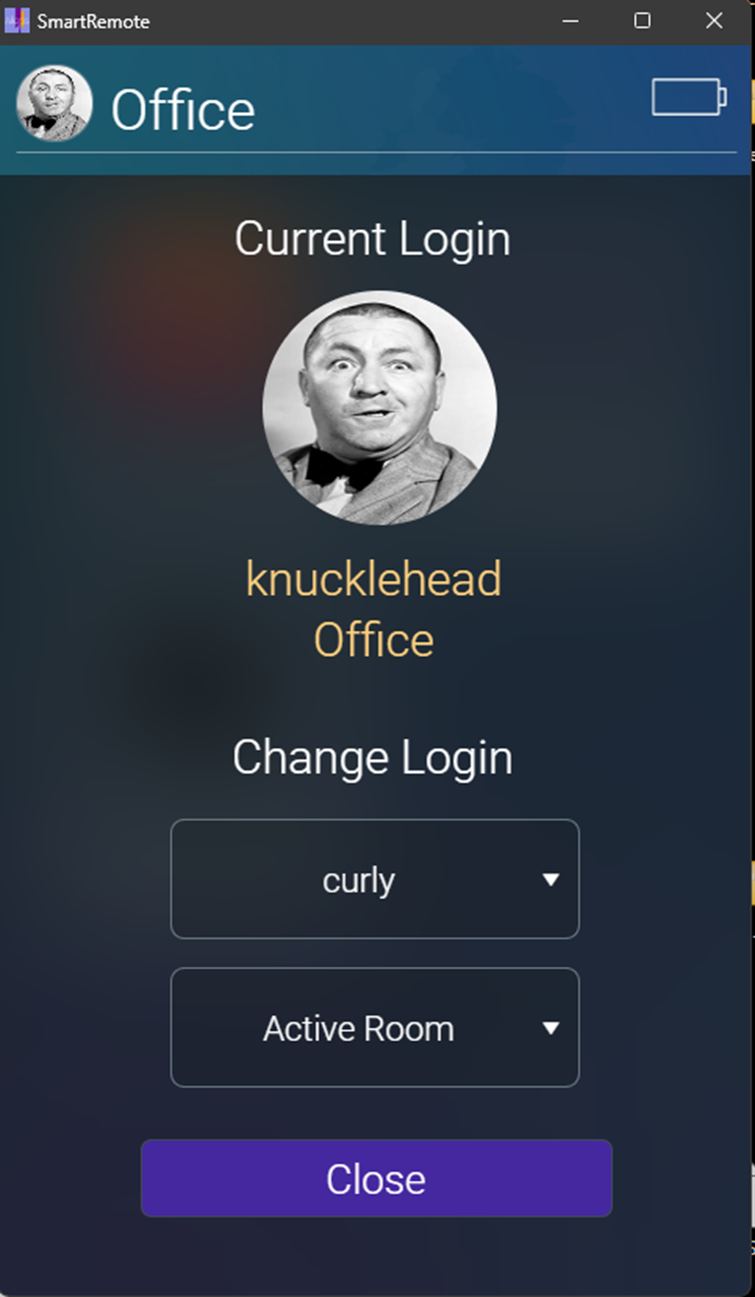
Let’s change the user to the new Davy Jones user and make sure the room is set to the Living Room.
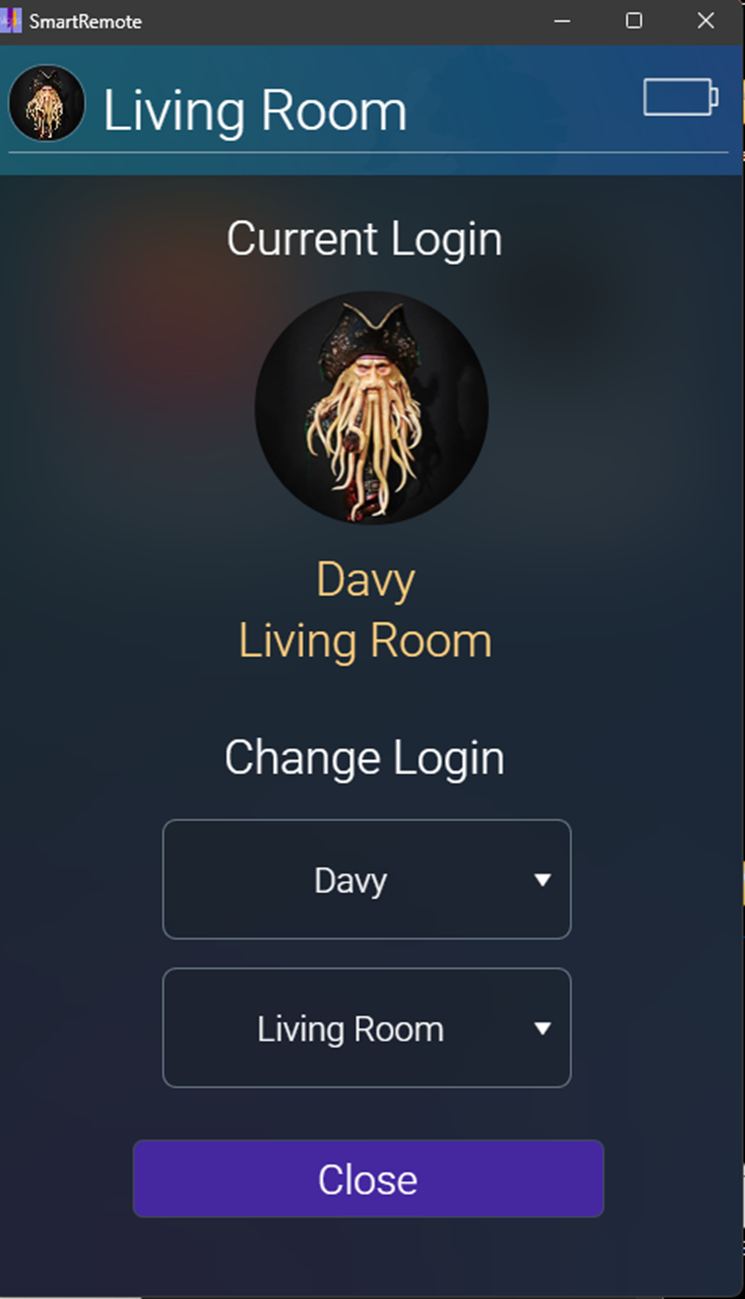
5) Click close
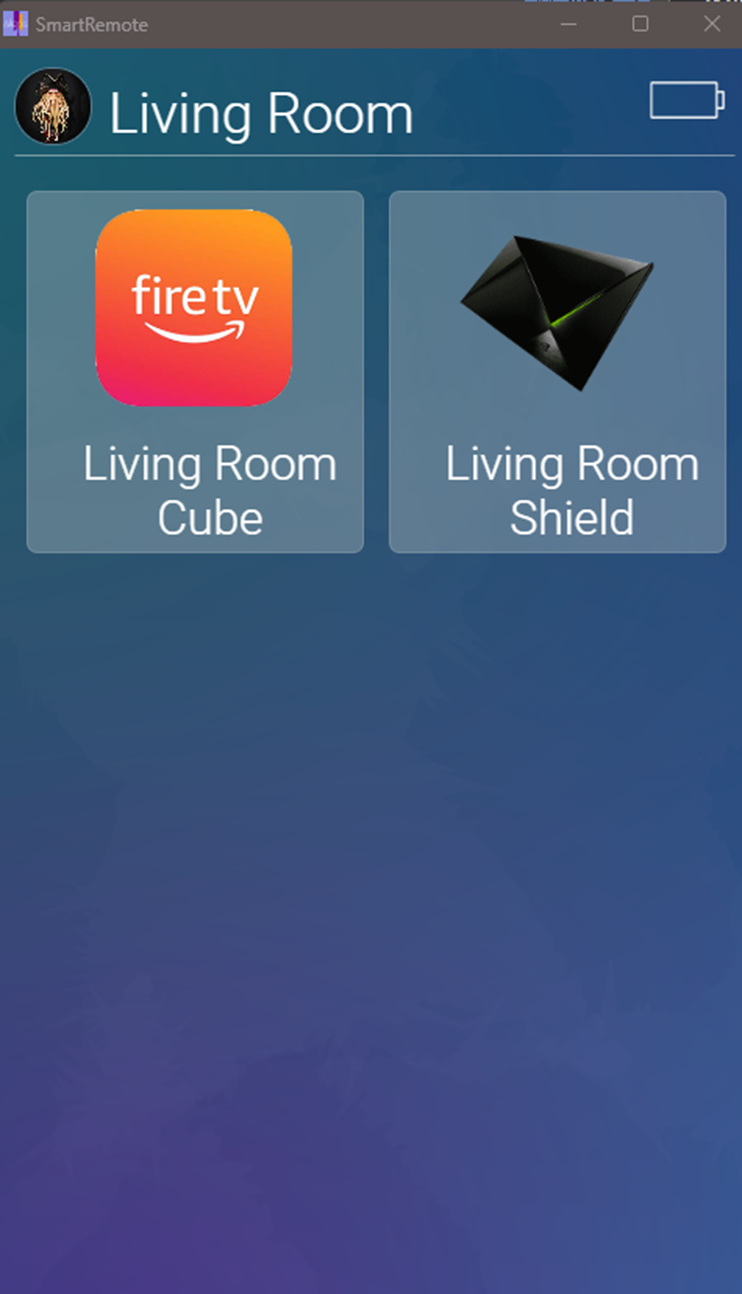
You’ll see the FireTV cube and Nvidia Shield as control options.
If you want to switch to controlling devices in the Office click back on the Avatar icon and switch to the Office.
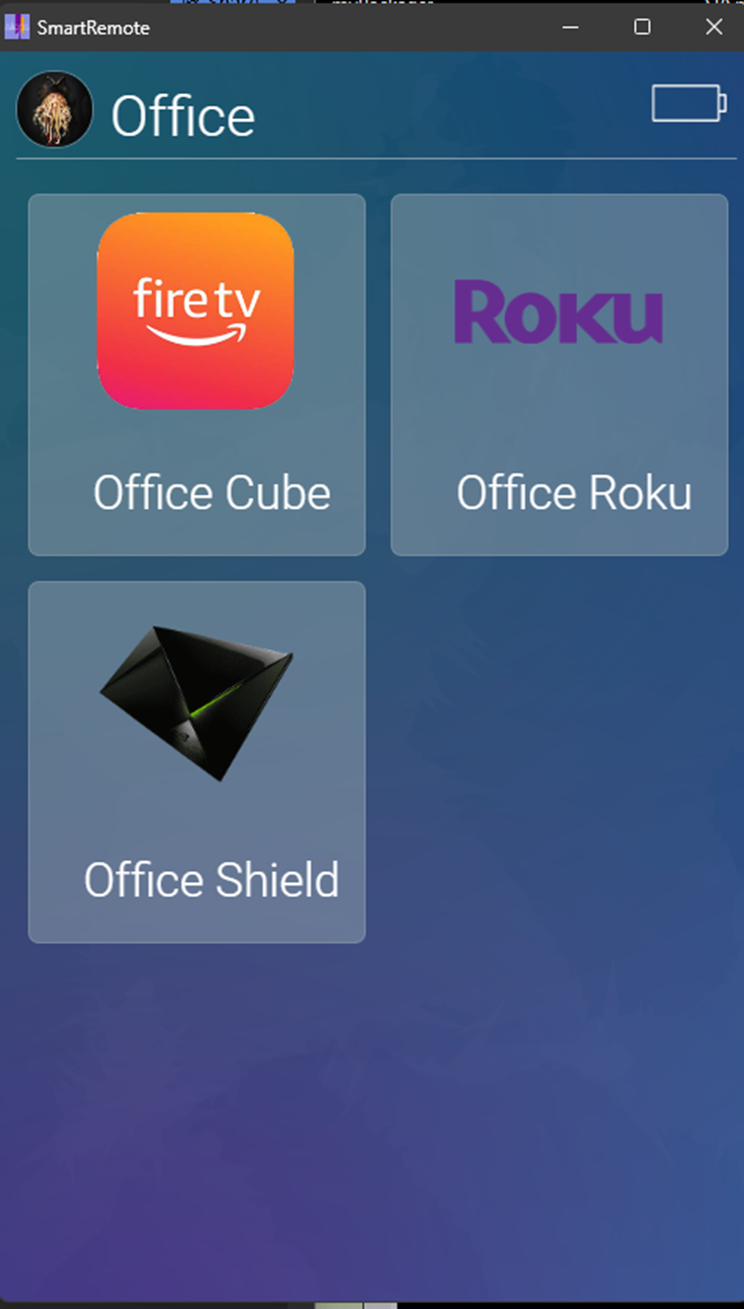
Note that when you click one of the Icons, you will go to a webpage specific for that type of device. These are included default webpages that you can customize using the myDesigner application. This is where the customization capability of the myServer system shows it's signficant advantages over any other control system.
Backing up the myServer system
Now that you have done some configuration, best to do a backup of the myServer 6 system
Backup the template(s): Create a wwwroot\backups folder. Copy the "smartremote" folder into backups. Download from software updater the "smartremote-sample". Rename that "smartremote" in the wwwroot folder. You are then using the latest files from Allonis. If you had a custom "mywebpage.html", you can copy that from backups\smartremote into the wwwroot\smartremote folder.
Backup myServer database: Run the myServer command: BackupDatabase|LiHome1-myServer6-Sunday, 25-February-2024 08.19 AM.bak Choose the filename from the Command Builder dropdowns. This will backup the database to: "\\myServerIPAddress\myServer\backups" folder.
Backup the myServer license: Copy the license.json file from "\\myServerIPAddress\myServer\data" to the backups folder.
You should also copy the files in myserver\backups and myServer\wwwroot\backups to an off site flash drive (or other storage medium) in case something happens to the myServer hardware and you need to replace the hardware. Recommended is to backup the whole myServer folder so you have all images and drivers etc.
To restore from your backups: copy the files to the myServer\wwwroot\backups folder and simply run the "RestoreDatabase|LiHome1-myServer6-Sunday, 25-February-2024 08.19 AM.bak" command (use the dropdown in Command Builder to choose the right file. Copy the backed up license file to the correct location. Copy the templates folder to the right direction. Restart myServer.
Notes:
You may find in time that adding devices / templates / apps that you exceed your licensing permissions.
When this happens, you won't see Drivers / Apps listed. To address that either disable devices / templates / apps you aren't using or purchase additional device licences on allonis.com Shop (search for "Devices") . Once you have paid, then:
From the myServer dashboard go to Configuration / Licensing.
When the page refreshes make sure your license count has gone from 175 to
"275" (or whatever number of license you purchased).
If you see the 275 then from Utilities select Restart MyServer.
After the restart the license chart will should show 275. If it does not, let Allonis know at
It is a good idea not to add any drivers that you aren't currently using. Just puts noise into the system. Only add what you are needing. Delete any unneeded and restart myServer for the deletions to take effect.
Customizations
Dashboard is using the popup command to view server variables in a floating window. The client command it uses is Popup|/sampler~server-variables~300~100~1366~999
To use this Popup command you need to specify the root project folder, name of the web page, left, top, width, height. In the server variables example it will open the server-variables.html file in the wwwroot/samples folder. I do that because the samples project folder has an empty index.html file so there is no flash of unwanted content. If you use the main project folder as the root then you might see a brief flash of the index content before the desired page loads.
There is also an additional command that will popup a page with an external website. The "Live Event Log" button on the dashboard index is using this command to open the live event log. When used as a server command iIt looks like this
WebCmd|{{clientname}}~PopupViewer|{{server_events_url}}~Events~300~100~960~540
Advanced
Checking OS Build:
From a terminal sesssion:
cat /etc/os-release
Setting network on Trixie via cmd line:
sudo nmcli connection modify "AllonisEth0" ipv4.gateway 192.168.1.1 ipv4.dns "8.8.8.8 8.8.4.4"
sudo nmcli connection add type ethernet con-name "AllonisEth0" ifname eth0
sudo nmcli connection up "AllonisEth0"
sudo nmcli connection modify "AllonisEth0" ipv4.addresses 192.168.1.240/24 ipv4.method manual
sudo nmcli connection modify "AllonisEth0" ipv4.gateway 192.168.1.3 ipv4.dns "8.8.8.8 8.8.4.4"
Determine which OS from cmd line:
prior to Trixie (13) neofetch
Trixie and beyond hyfetch
sudo cat /run/NetworkManager/system-connections/netplan-NM-a90cbea4-4910-4620-a538-e783fff369c5.nmconnection