Kodi is a free open source (GPL) and multi-platform multimedia centre which can centralise all your local, network and internet media into one easily accessible location.
It is designed to be installed on hardware that is directly connected to your AVR or TV preferably via HDMI.
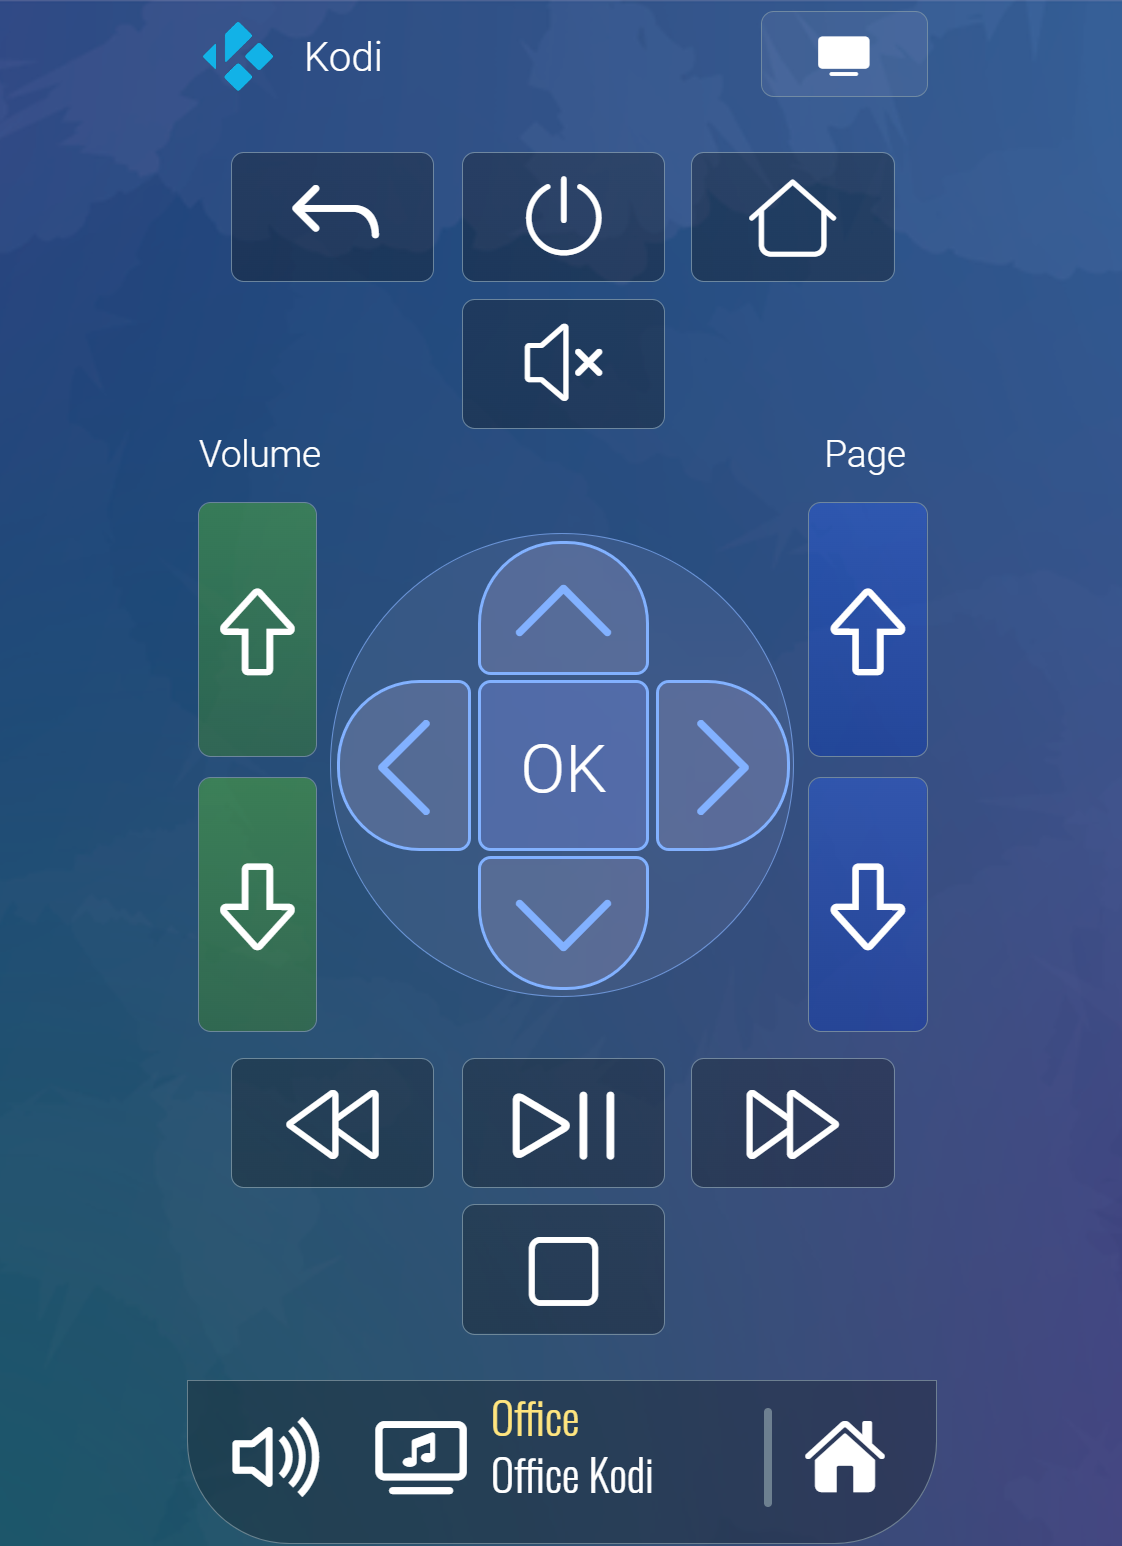
The myServer Kodi driver allows for a myServer user interface to control Kodi. This includes the SmartRemote control. You can navigate Kodi menus and content using the myServer user interfaces to select a movie / music to launch.
In a later development phase, you will also be able to view and select Kodi managed media from the myServer user interface.
Kodi driver Installation
Install the Kodi application from the myServer Software Updater.
myServer will install the application and restart.
Install Kodi on your Windows / Linux / Android devices and within the Kodi Settings / Services / Control:
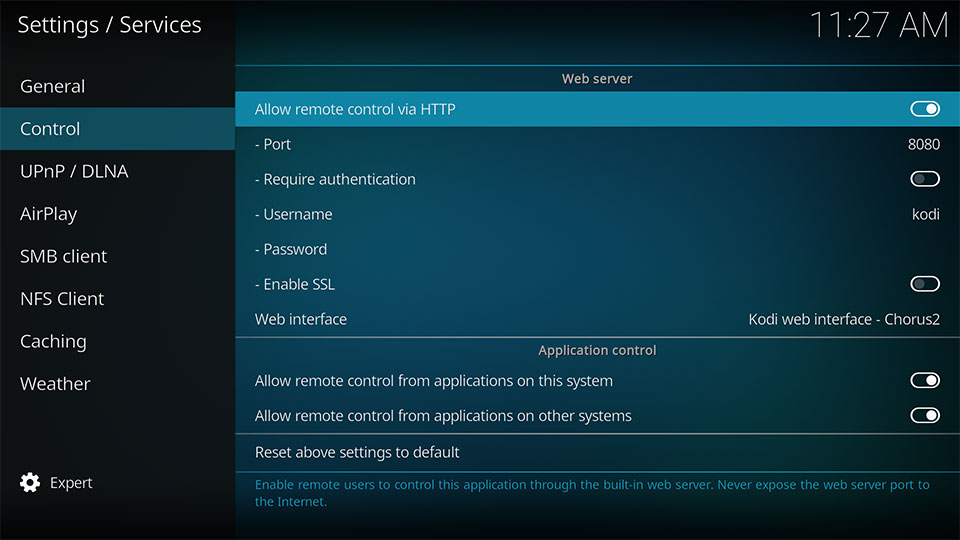
- Enable remote control (on the device and also from network) which opens port 9090.
- For images to be accessible to myServer, enable "Allow Remote Control via HTTP" Password is not used / needed.
- UPnP is not needed.
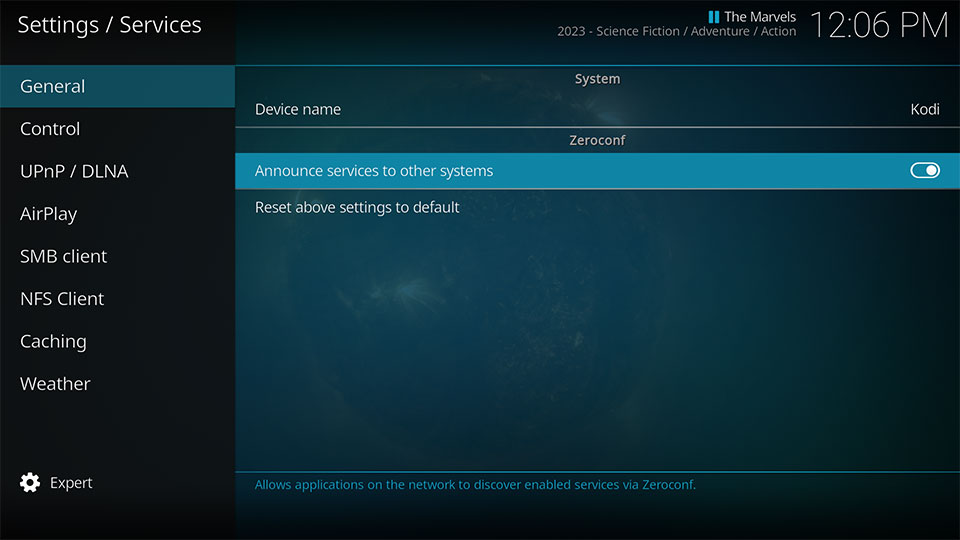
- For Discovery to work (within myServer), you can turn on Kodi's Zero Config (requires Bonjour installed on the device).
- You may also need to let Windows Firewall allow bi-directional port 9090 and 8080 traffic to the Private network (if Kodi is installed on Windows).
- Lots of support for Kodi exists on the Kodi forum / google search.
Depending on when your system received it's "Master Image", you may have to manually create some folders:
wwwroot/media/images, movies, music, photos, trailers, videos
folders.
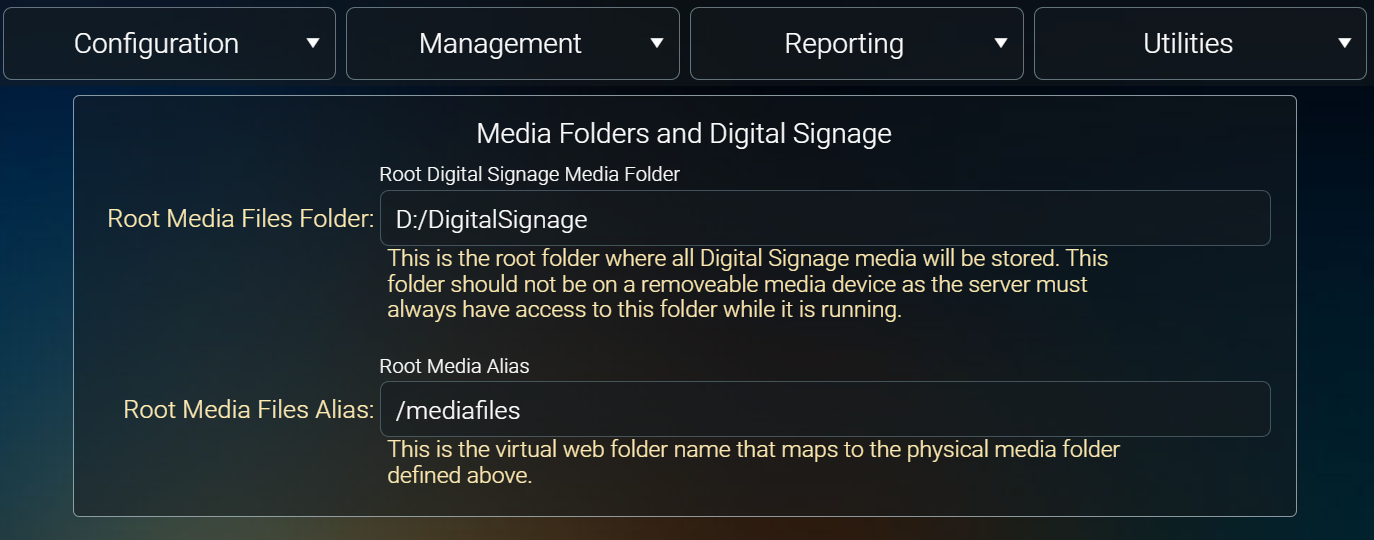
In Dashboard under Configuration / Media Folder change Root Media Files Folder to a valid folder. Or set it back to its default value /home/allonis/applications/myServer/wwwroot/media
Post myServer restart, click on myServer Drivers / Kodi Configure.
Easiest is to run the Discovery command from the Kodi driver command builder. This will sweep the network and return the Kodi instances it finds using Zero Config. If Zero Config is not enabled on Kodi, you can also manually install it by entering in the Kodi device IP address.
You should add the Kodi device to a myServer defined Room.
With the above configured, you should be able to operate transport controls from myServer user interfaces (like the SmartRemote). Test on the Kodi Drivers Test page.
Driver Installation and Configuration
From within the Kodi app lease make sure that you have enabled ZeroConf discovery, remote control via HTTP without authentication and also enable application control for both local and remote devices. See below.
From the myServer Kodi drivers page click on the Discover button to allow the driver to find all your Kodi players. If some of your Kodi players are not found please make sure Kodi is running on the device and that ZeroConf is enabled. You also the option to manually add a player in the command builder. Discovered players will be put into the Unknown room. Please make sure to put each of the players into their appropriate rooms so that the required source activation macros are created.
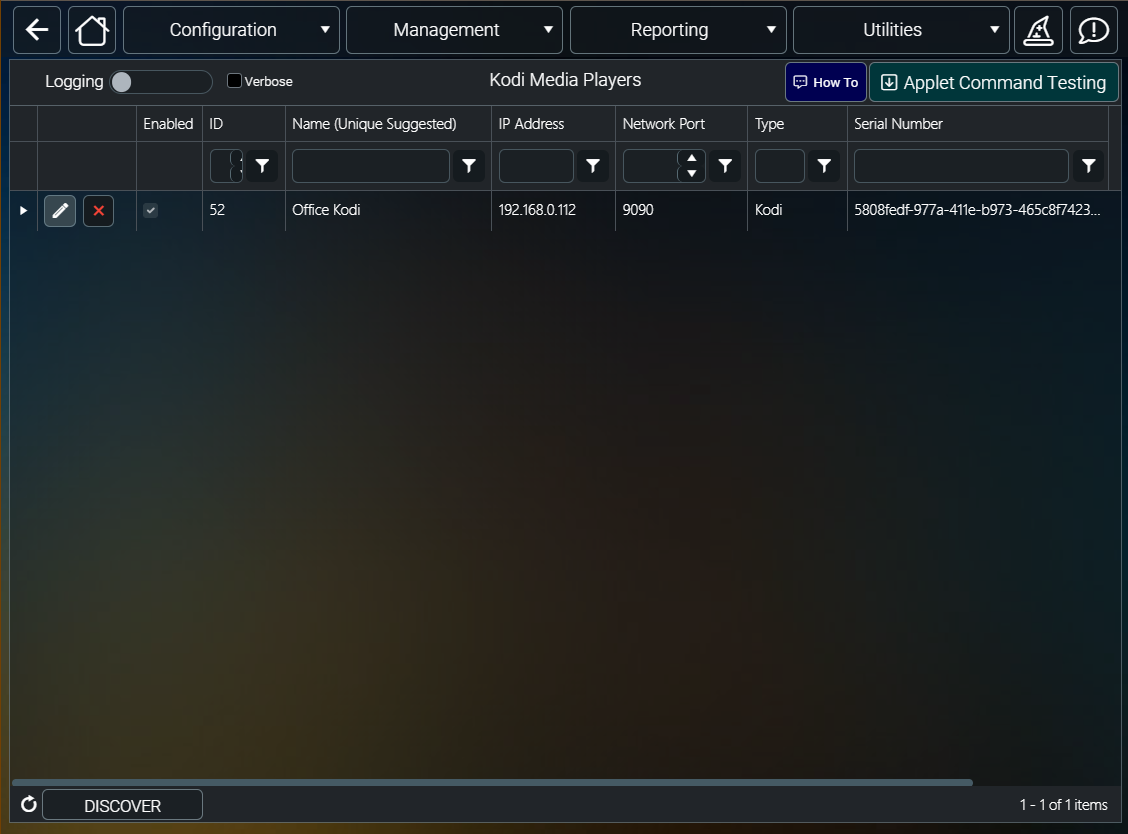
Initial Testing
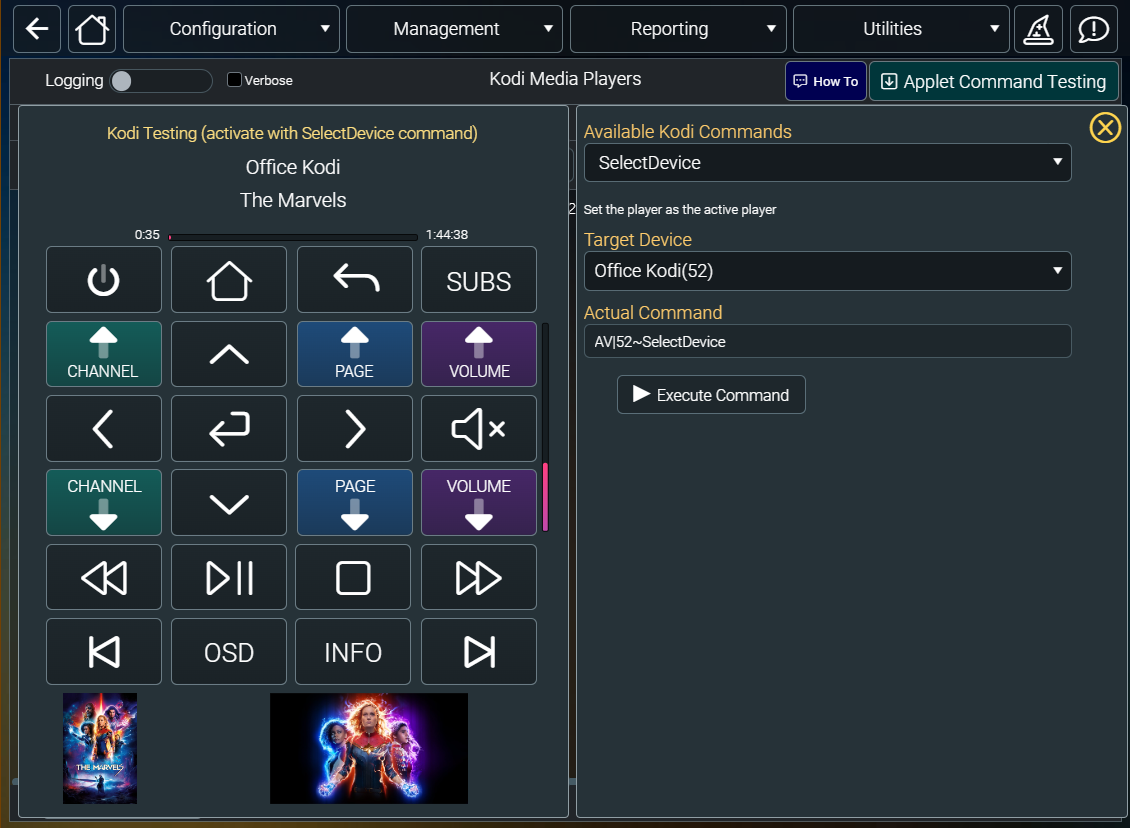
After your players have been discovered you can test driver functionality by opening the command builder and using the SelectDevice command. Once a player has been activated you can use the buttons in the left side panel to control the player.
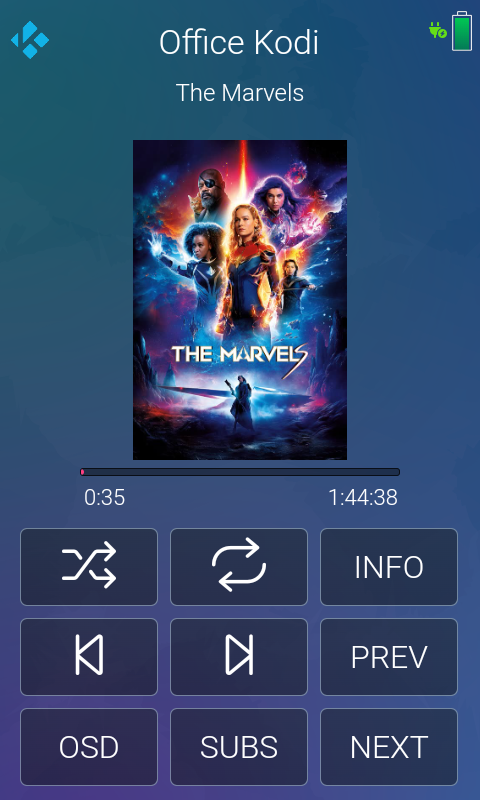
SmartRemote User Interface
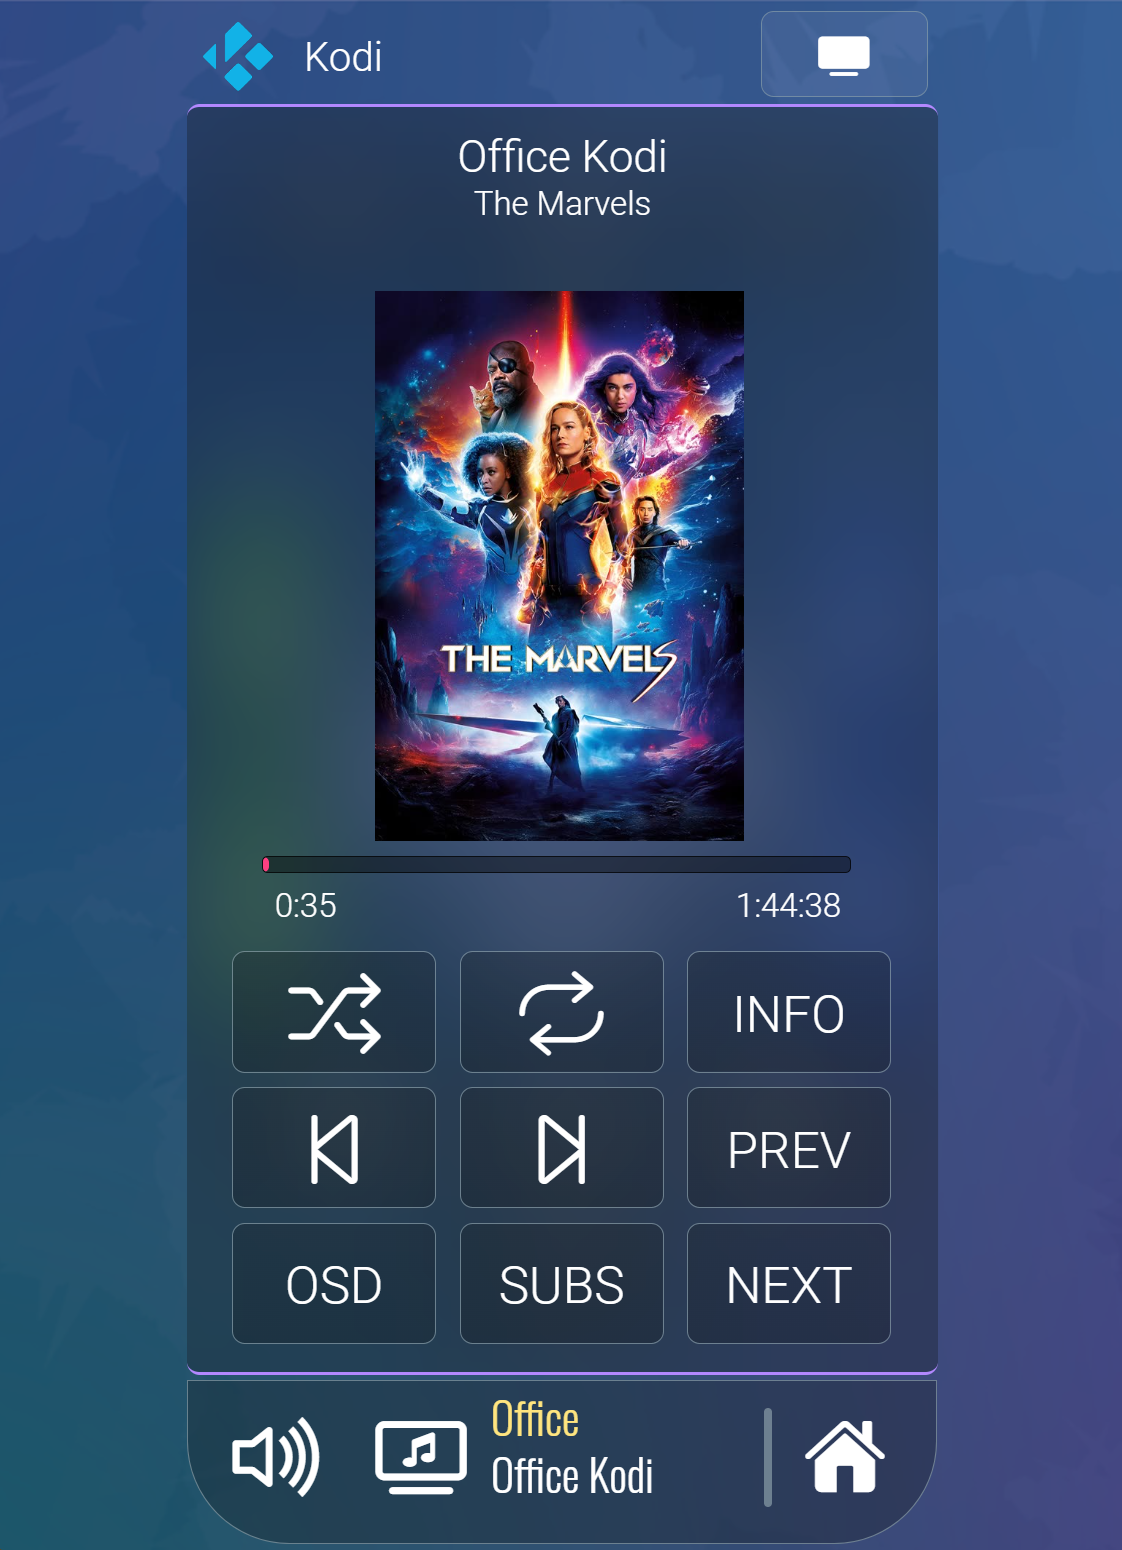
The sample SmartRemote page will provide control of the selected player. All the hard buttons are mapped to their logical Kodi commands and the touchscreen contains some useful additional buttons and now playing metadata.
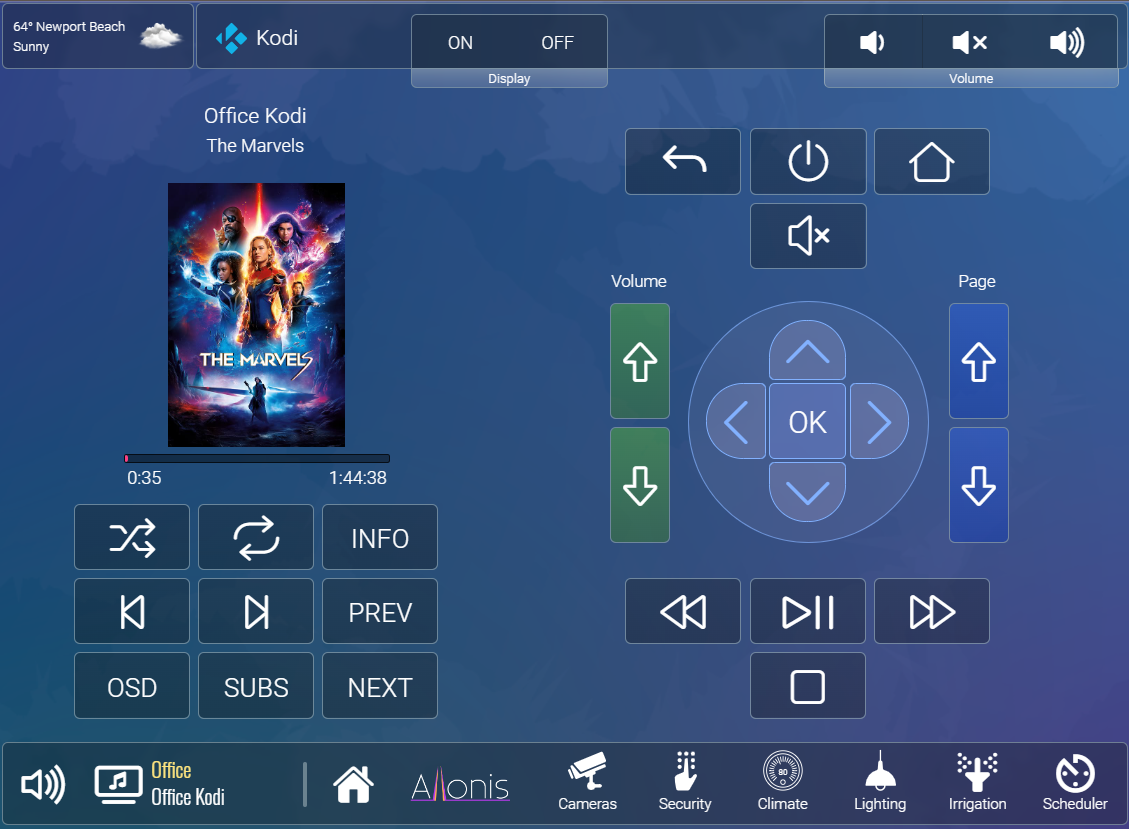
Moonlight Tablets User Interface
This is the sample page that you will find in the Moonlight project template.
Moonlight Phones User Interface
This is how the Kodi interface will look in the Moonlight Phones project template. It is configured as a primary page with an overlay to support the additional buttons.