



The Elgato Stream Deck is a many button user interface hardware that can trigger other software to do "stuff".
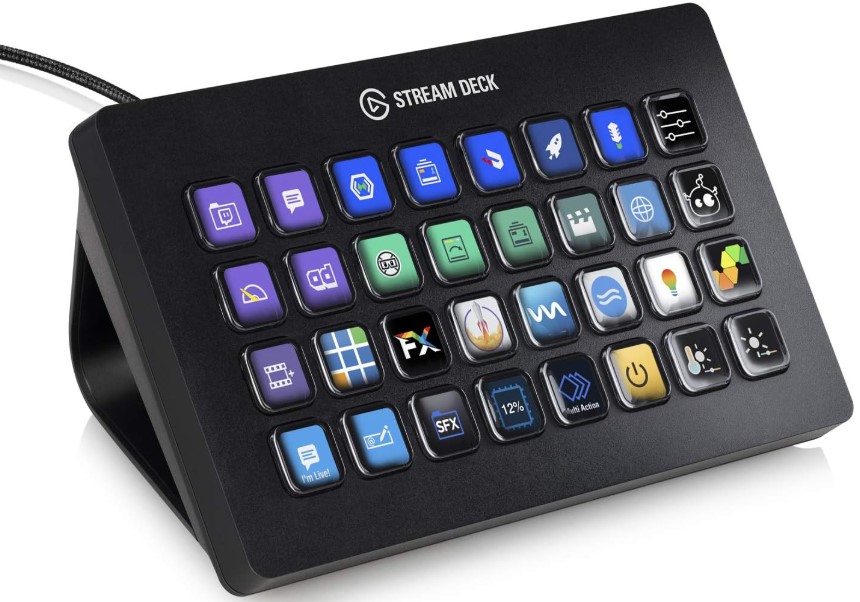
With myServer's extensive library of device support, there has been interest in integrating the Stream Deck to trigger myServer macros. Those macros can then command the vast library of device actions (like trigger a video wall scene, or go to a set volume position on a zone, or turn on the whole system, etc.)
Easiest integration is to drag a "website" widget to the StreamDeck button (in StreamDeck configuration software). Name it with your function. Then, put "http://192.168.1.216/api/docommand?command=AV|294~Power~On" as an example command. The IP in the example URL is the myServer 6 controller's address. Any command or macro can be executed. Choose the "GET request in background" in StreamDeck app so that a web page doesn't launch on your StreamDeck USB connected PC.
So, you can do thousands of activities like: Bar Open (launch a myServer Preset). Or "Night time" or "Outside Cameras" to have myServer display the cameras on the outside of your home / bar. Or any other manufacturing task sequence, or Audio / Video actions, etc that myServer is controlling. You can launch a myServer user interface on your PC with a touch of a StreamDeck button.
If you're looking to manage a Stream Deck using a Raspberry Pi, This guide will walk you through the process step-by-step, ensuring you can get your Stream Deck up and running in no time.
Step 1: Setup Your Raspberry Pi
First, you need to set up your Raspberry Pi with the latest Raspberry Pi OS. If you haven't already done so, download and install the OS from the official Raspberry Pi website. Once your Pi is up and running, make sure it's up-to-date by running the following commands in the terminal:
sudo apt update && sudo apt upgrade
Step 2: Install Dependencies
Next, you'll need to install Python and the necessary libraries. Open a terminal and enter the following commands:
sudo apt install python3 python3-pip
pip3 install streamdeck_ui
Step 3: Install Stream Deck UI
Stream Deck UI is a graphical interface that allows you to configure your Stream Deck. Install it by running:
pip3 install streamdeck_ui
Step 4: Connect Your Stream Deck
Plug your Stream Deck into a USB port on the Raspberry Pi. The Pi should recognise the device automatically.
Step 5: Run Stream Deck UI
To start configuring your Stream Deck, launch the Stream Deck UI application by entering:
streamdeck
The graphical interface will appear, allowing you to assign actions and customise the buttons on your Stream Deck.
Step 6: Create Scripts and Commands
Now, you can create Python scripts or shell commands that you want the Stream Deck buttons to trigger. Assign these scripts or commands to the buttons through the Stream Deck UI. This step is where the real magic happens, as you can tailor the functionality to suit your specific needs.
Optional: Automate on Startup
If you want the Stream Deck UI to start automatically when your Raspberry Pi boots up, you can add it to the autostart configuration. Here's how:
-
Create the autostart directory if it doesn't exist:
mkdir -p ~/.config/autostart -
Open a new autostart configuration file:
nano ~/.config/autostart/streamdeck.desktop -
Add the following content to the file:
[Desktop Entry] Type=Application Name=StreamDeck Exec=streamdeck -
Save and close the file.
With these steps completed, your Stream Deck will be ready to go every time your Raspberry Pi boots up.
Conclusion
Using a Raspberry Pi to manage a Stream Deck opens up a world of possibilities for automation and customisation, especially when paired to myServer 6. Whether you're using it for productivity, streaming, or just for fun, this setup will give you the flexibility and control you need. Enjoy your newly configured Stream Deck!