• Try Us Out - See our Demo Tabs Above

    Sports Bars

    Experience our Sports Bar TV, Audio and Lighting Control System with our awesome demo! We provide multiple TV control systems that will easily integrate your Audio/Video and environmental components into one easy to use package. Let multiple hand-held remotes be a thing of the past and experience hassle free one-touch control. With the versatility of myServer 6, you may be able to retrofit existing equipment into the control system which makes it economical to get the most value out of your technology investment.

    Residential

    With a whole new exciting look and feel our transparent "Moonlight" user interface allows clarity and ease in maneuvering your lighting floor plan, climate control, security cameras, and security keypad as well as entertainment options. Control all aspects of your home with simplicity and confidence.

    Digital Signage

    Allonis makes it easy to control and launch your media content. We have created software that ties in seamlessly to your bar or restaurant control system. Upload new images and videos, discard old ones, decide what to play or post and where with just a few selections.

  • Sports Bar & Restaurant Demo

    Select a source on the left and then select the TVs you would like to change on the right.

    Along the bottom are options for a DirecTV remote, TV Guide, Audio, Favorites & AppleTV. In addition you can touch the video camera on the left hand source options to get a live preview of what's playing on that source. Be sure to click around and try everything.

    Read More


    Customer Listening Experience

    Pan from left to right and up and down to see all the TVs.

    Customers can select the TV closest to them to tune in to the audio.

    Read More


    No Floorplan Option.

    If you are not interested in a navigable floor plan we can provide a generic interface instead.

    The same features are supported.

    Read More
  • Residential Demo

    Below is our residential simulation.

    Be sure to click around and try everything. Read more about the UI below.

    Read More
  • Digital Signage

    In the large window select a player on the left. Then select an option layout on the right. Select available assets from the list provided. You can add a ticker of either a message or weather by checking the boxes. When you are finished making selections click “send to player”. Your choice will appear on the corresponding player above. To pause a video click the player once.

    Read More
  • SmartRemote Demo

    Below is our SmartRemote simulation.

    Be sure to click around and try everything. Read more about the UI below.

    Read More

Our Products

See the latest myServer 6 products, available for individual purchase or part of a custom Allonis system built especially for your project.
Software
Hardware
Sports Bars
Services

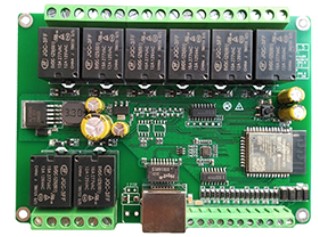
DiangTian MQTT relay driver
8channel relay box8channel relay


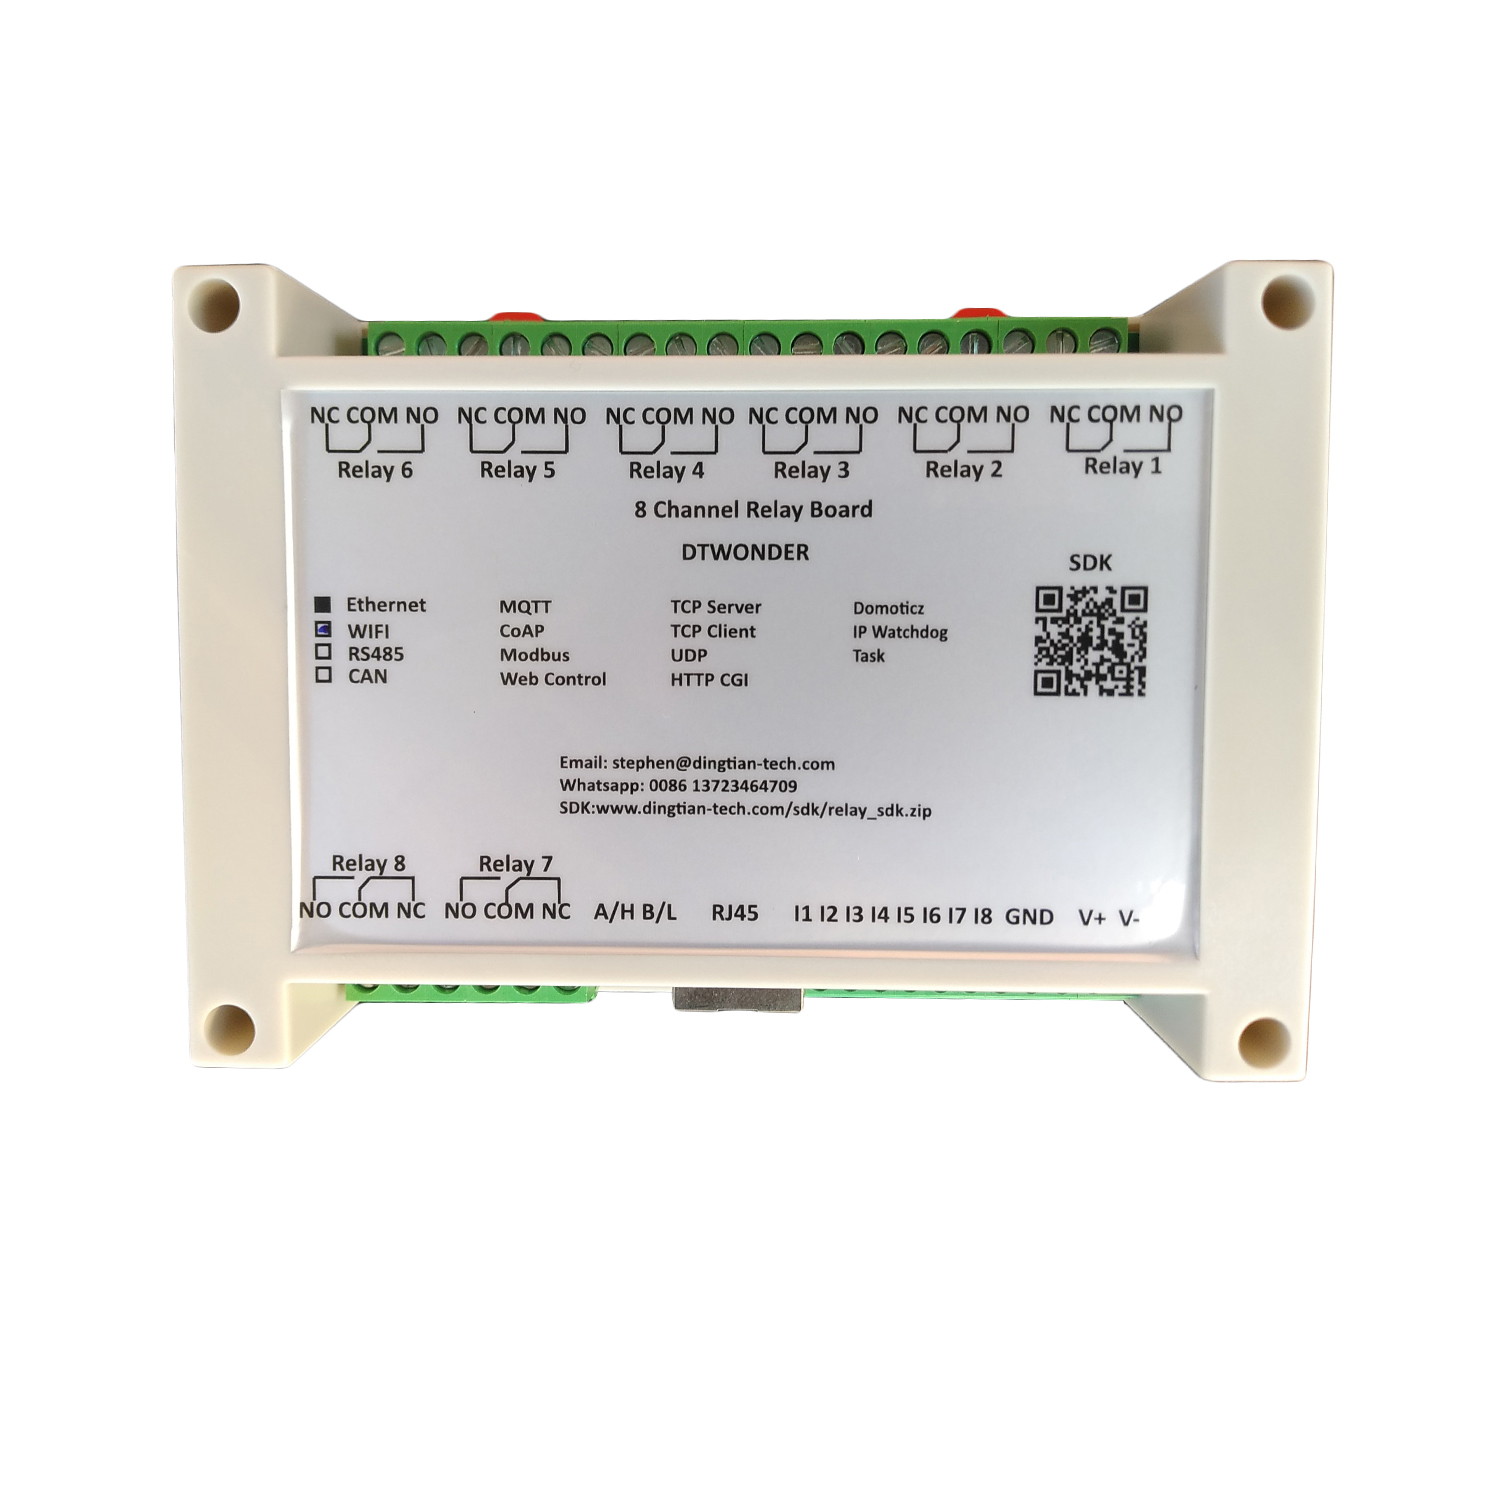
The DingTian Driver communicates to the relays through it's API via MQTT communications.  You can purchase the 4,8,16 and 32 relay versions.  myServer will self discover what version it is connecting to and add the corresponding device IDs within myServer automatically.  The relay board also accepts Inputs that myServer tracks state and can execute a macro when it sees the contacts going "High".


some of the DingTian relay boards also support CAN communications.  More info on this will be provided in our "myVehicle" application.


Setup each DingTian relay controller

Connect using either Wifi (dtrelaySN  / dtpassword 192.168.7.1) or Ethernet (192.168.1.100)

use admin / admin as it's access

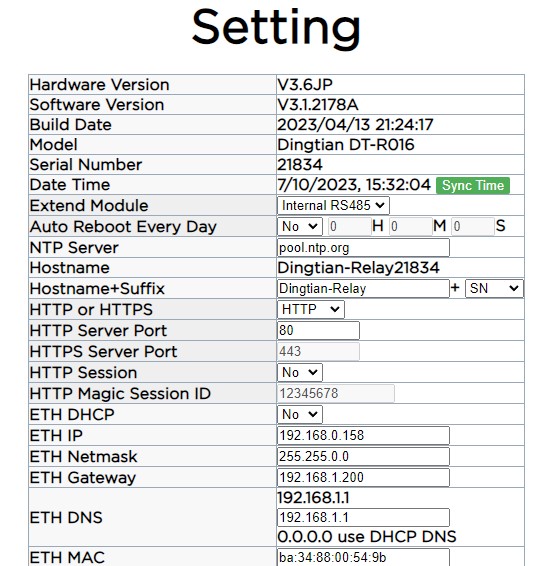
Under the Settings tab,  configure the relay controller's IP address / gateway / DNS server settings appropriate for your network.  Ensure the chosen IP address isn't already in use by Ping 192.168.0.158 (example of the IP you want to setup the relay controller) to ensure no device responds from a computer on the same subnet.
16channel settings 1

Copy the relay controller's serial number.


The "AP" settings are used by the controller if the device cannot find an ethernet network, then it will broadcast itself as a WiFi access point under the SSID / Password you set. So you can access the settings of the relay controller.


HTTP settings including the DHCP or Static IP assignage in the ETH port.

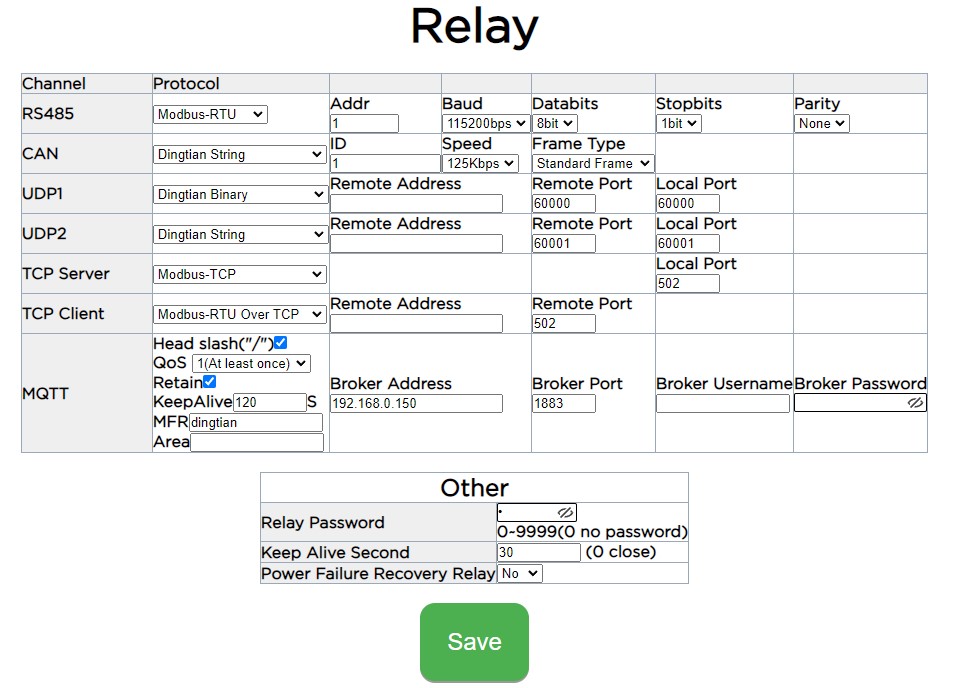
Configure the MQTT settings:

The RelayConnect page - MQTT protocol should be "MQTT".  Ensure "Head Slash" is selected.  The Broker Address is the address of your myServer 6 controller.  The Broker Port should be 1883.  No username or password is required unless you setup that security on the myServer MQTT server.
16channel RelaySettings 1


Install the DingTian driver using myServer's Software Updater.


Enable the myServer MQTT server using the myServer command builder.  Run the "EnableMQTTServer" command. Restart myServer afterwards for the settings to take effect.

Use the myServer Command builder to run the MQTT Publish command.  Type the topic name "" (example)

 Add the relay controller.

Serial number field:  "relay1234" if your serial number was "1234" for all relay rows (not just the controller).


I/O Setup (example of 8 relay board(s)  ):

Relay 1:  Real I/O = 1, Logical I/O=1, Controller = 1

Relay 8: Real I/O = 8, Logical I/O=8, Controller = 1

Relay 9: Real I/O = 1, Logical I/O=9, Controller = 9

Relay 16: Real I/O = 8, Logical I/O=16, Controller = 9


Device type should be "Lighting".