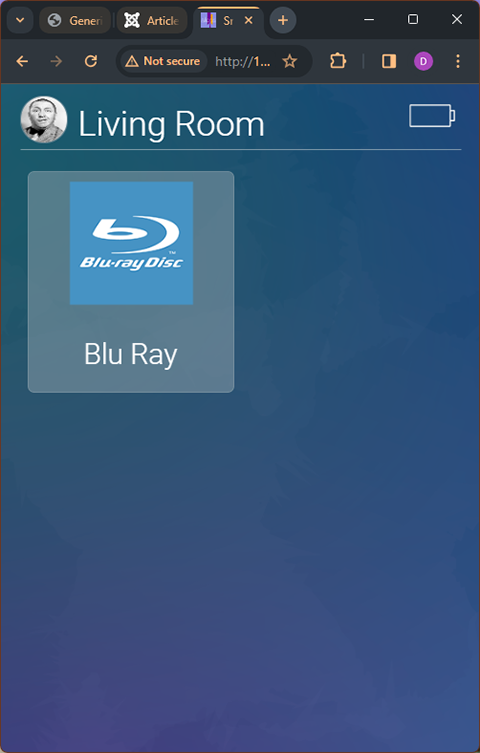
The BluRayIR driver allows you to create a standard AV Family device that is controlled via IR. This way you can control the BluRay Player using familiar AV Family commands and let the driver translate them into the required IR commands.
The BluRayIR driver works in conjunction with the GenericIR driver. So start by using the Server's software updater to install the BluRayIR AND GenericIR drivers.
Adding IR commands:
In this example we will be adding IR codes for a Panasonic Blu Ray player. You will follow these exact steps for your make and model Blu Ray / DVD players.
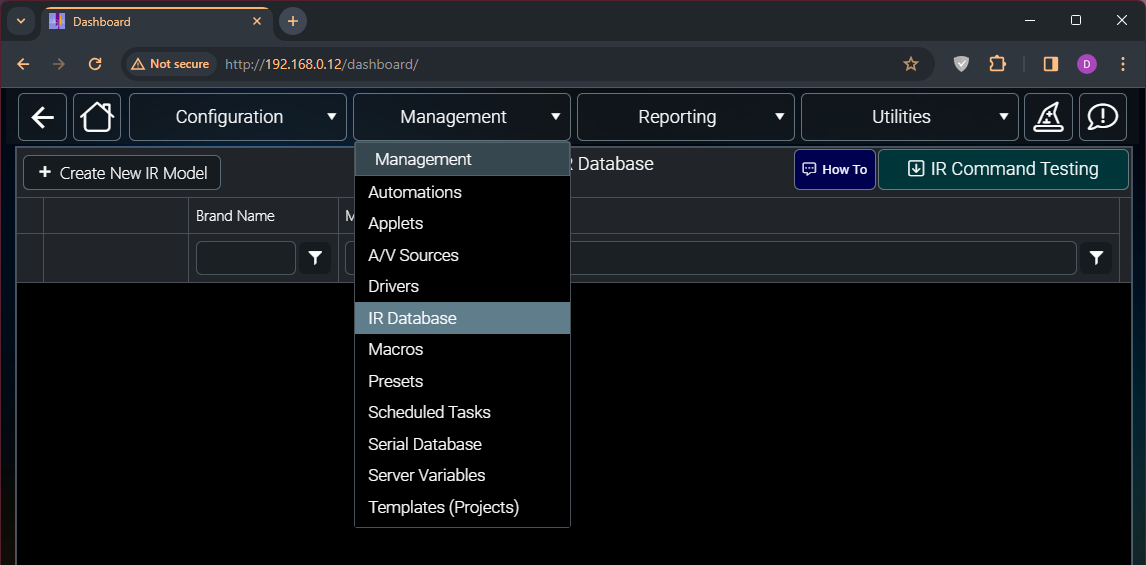
Navigate to the Dashboard Management dropdown and select the IR Database option.
Then click on the IR Command Testing button. From the right side Cloud Database Lookup choose the brand, type, and model from the three drop down selectors. Once you have found your cable box and its IR codes the text box in step 4 will show the suggested new name for the set of codes. Rename if you like and then click "Save To Database". This will download the IR codes from the cloud database to your local myServer database.
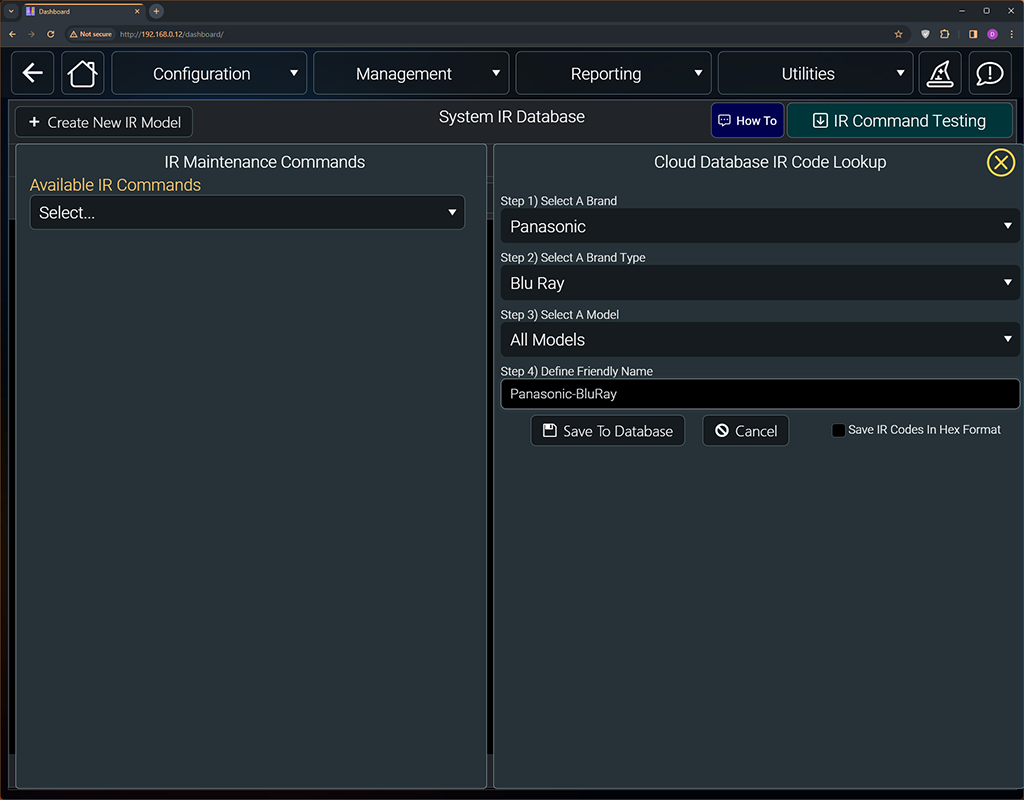
The codes will be downloaded and strored. Close the IR Command Testing to return the main IR page.
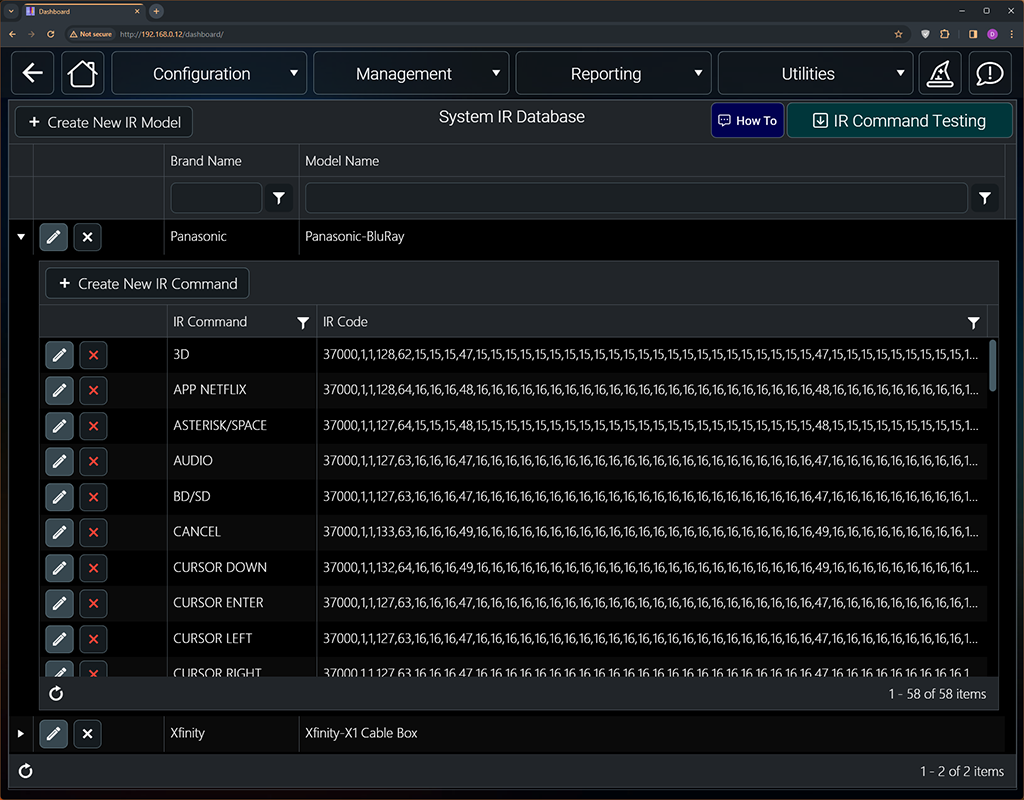
You'll see all the new IR codes that have been downloaded.
You will repeat this process for any other IR devices that you might want to control using infrared.
Once you have the IR codes you can advance to the GenericIR driver to define what devices will be used for sending these IR codes. Go to the Dashboard Devices page and open the BluRayIR driver.
We currently support sending IR using Global Cache hardware or the SmartRemote. Support for other IR emitters may be added at a later date.
In our example we will being using a Global Cache iTachIP2IR for our emitters.
Make sure you have your Global Cache devices on the network and set for a static IP address. You always want to have all you equipment set to static IP addresses whenever possible.
You can manually add the iTach using the driver's command builder but it is easier to just let the driver find them. Click on the Discover button and let it run until it has found your IR devices.
Here we see we've found the iTach.
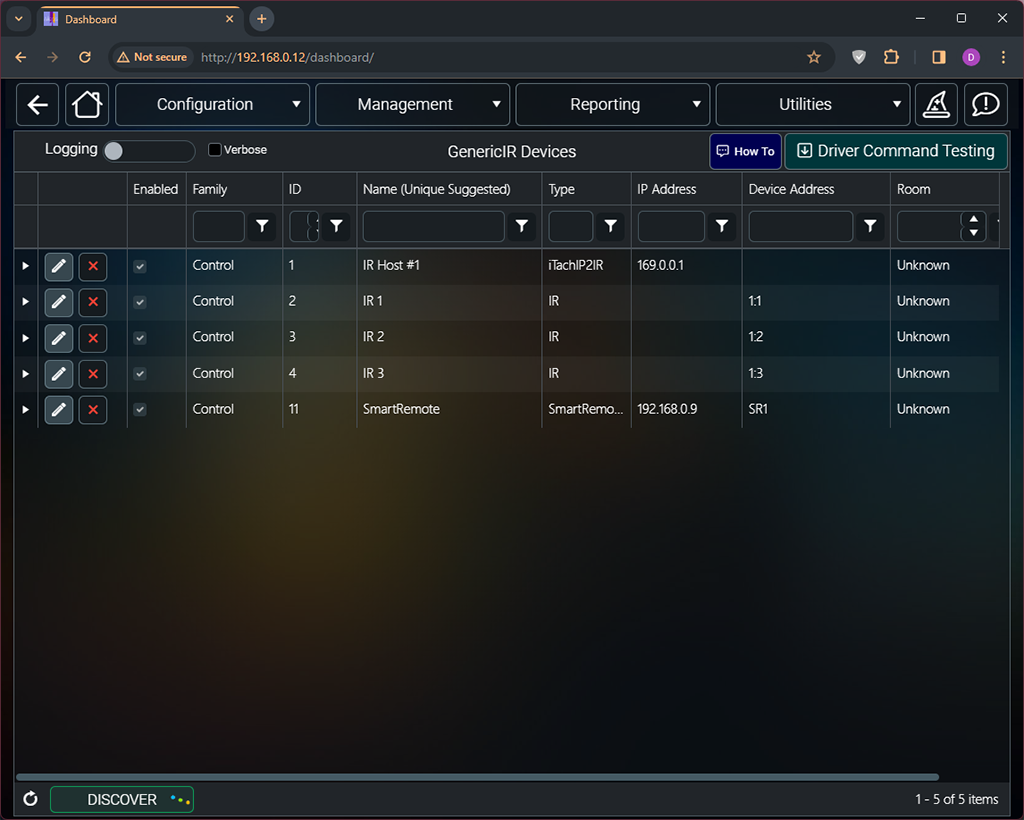
The three IR ports on the iTach were added using the generic names IR 1 to 3. We suggest taking the time to change the name of these devices to better match the device it will be trying to control. Our Blu Ray player will be in the Living Room ir will be on the first IR port on the iTach. We'll make the following name and room changes.
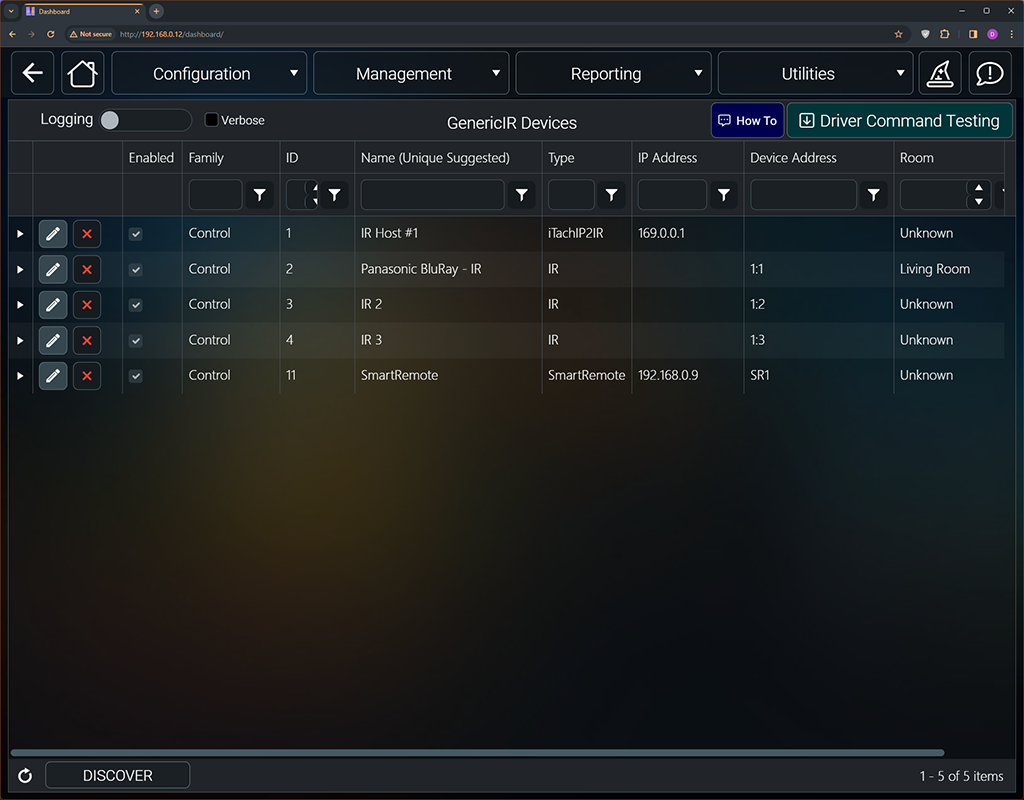
At this point in time you can start sending IR using the GenericIR driver's SendIR command. However, we want to make the process easier by using the BluRayIR driver to create a virtual Blu Ray player device that will respond to normal AV commands.
So now we move on to the BluRayIR driver.
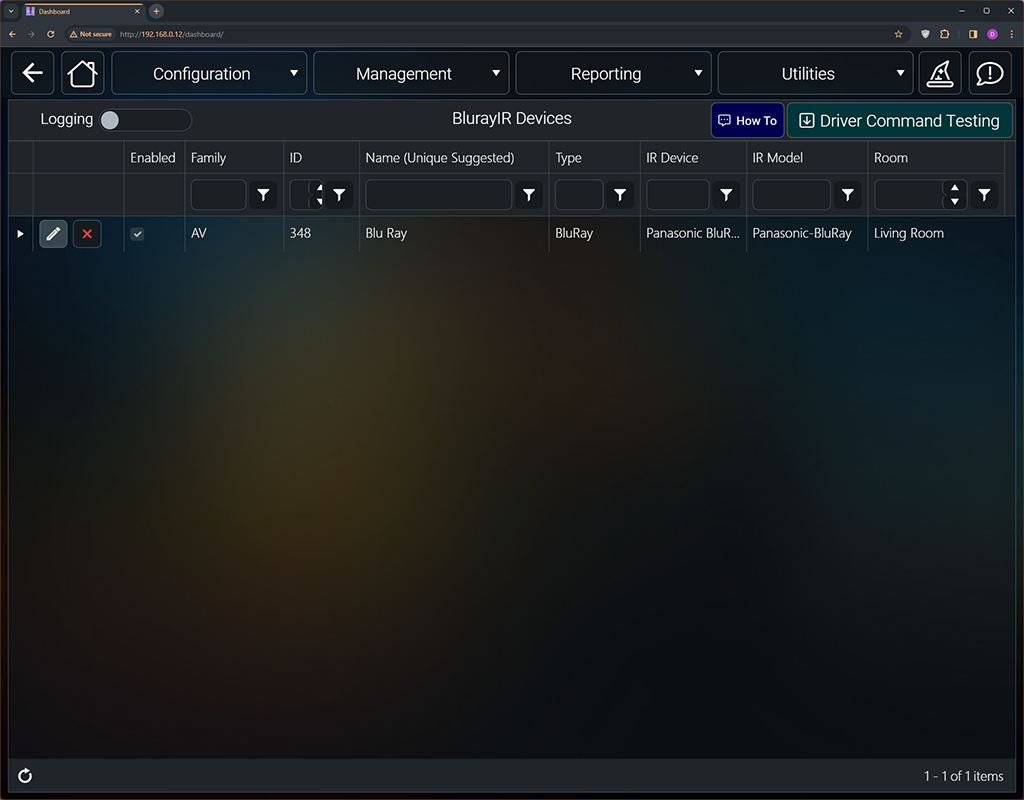
Use the driver's command builder to add a new cable tv box in the system. Select the AddPlayer command from the available commands.
You will want to give this player a unique name and place it is the appropriate room.
From the IR Device ID dropdown select the GenericIR device that will be responsible for sending the the IR commands. From the previous steps.
From the IR Device Model dropdown select the IR model that you created in the very first steps fof this document.
Place the box in the desired room and execute.
You have now added the player.
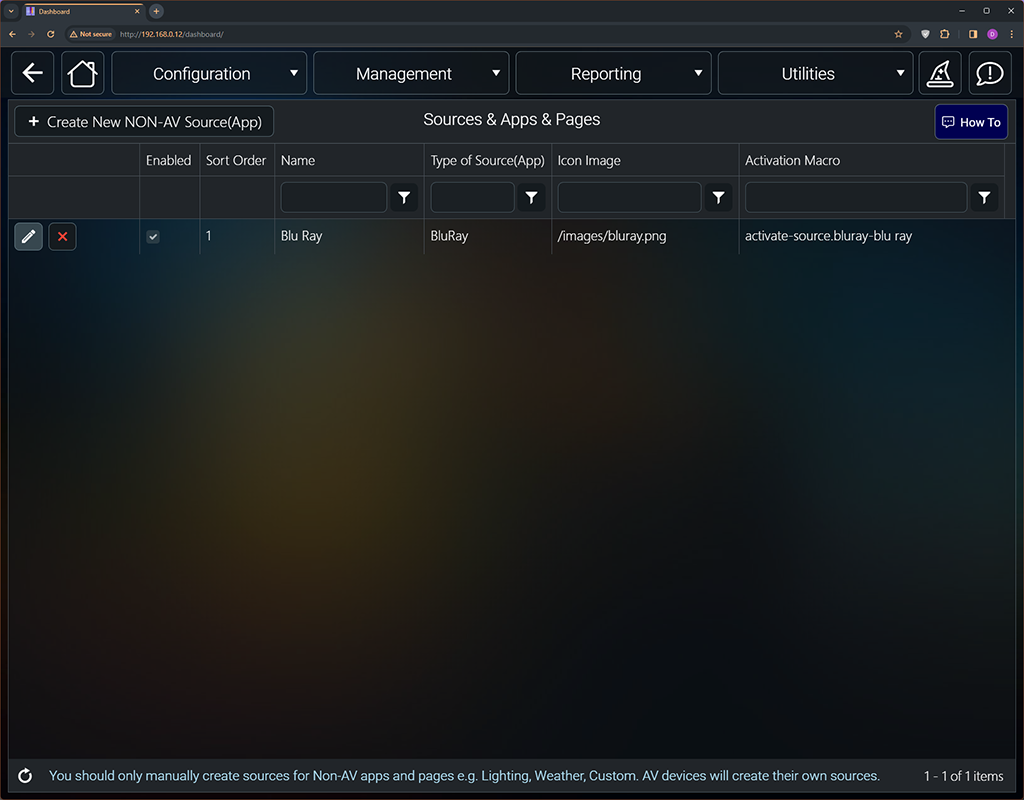
If you go over to the Sources & Apps page under the Configuration dropdown you will see that the system has automatically created the appropriate activation macros for these devices.
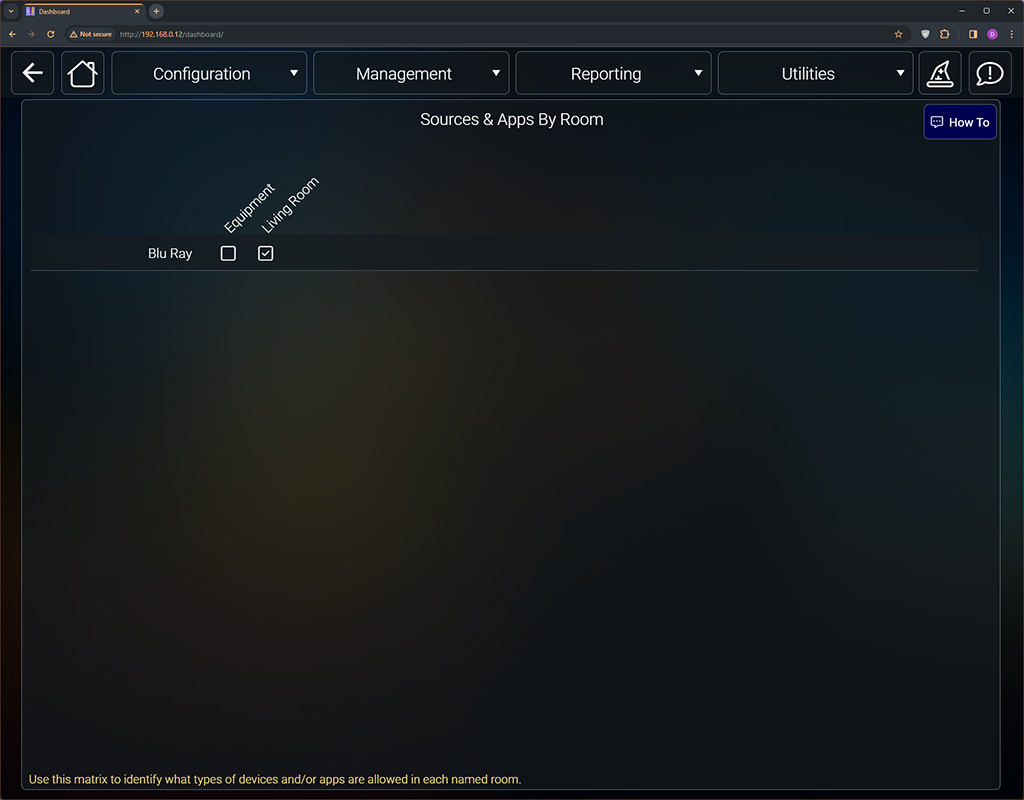
And over in the Sources & Apps By Room page you'll see the devices enabled in the rooms.
Lastly from the SmartRemote or tablet UIs you'll see the cable box as an option in the room